Inspiration & Advice
Landscaping for beginners: Ready, set, build your Aussie backyard

Is your backyard feeling a bit sad and neglected? Overgrown, messy or just… purposeless? Would you like to create a space you can enjoy – and show off?
The good news is you don’t need to be a landscaping pro or pay someone to do it for you. With some easy-to-use products and a free weekend or two, you can do it yourself – and Jack’s here to show you how! Ready, set, build…
Explore the range: Landscaping & Garden Design
Landscaping 101: a quick definition
Let’s start with the most basic question: what is landscaping? It’s not a silly question. Knowing what it means is helpful when starting out.
Put simply, landscaping is the art of planning, designing and arranging your outdoor space. It’s about combining plants, paths, structures and features to create something beautiful, functional and easy to maintain and enjoy.
It’s more than just making it look pretty – although that’s a big part of the fun! Landscaping is about creating a garden that works better for you, your family and your lifestyle.
Be inspired: Garden landscaping ideas to beautify your backyard
Step 1: Think space, budget, use and time
The first step in any backyard landscaping project begins with four questions:
- How much space do you have to play with?
- How much money do you want to spend?
- How do you want to use your backyard?
- How much time can you dedicate to maintaining it?
Answering these will help you figure out what’s doable – and what’s not – so your backyard works for you, not the other way around!
What does DIY landscaping cost?
With Jack products, a DIY backyard makeover doesn’t have to break the budget. You can give your outdoor area a polished, landscaped look for as little as a few hundred dollars!
Be inspired: Blooming brilliant garden design ideas and hacks

Step 2: Plan backyard zones
When it comes to planning the layout, split your backyard up into ‘zones’ – a bit like rooms in a house, but outside. Give each area a clear purpose, and suddenly your backyard makes sense! Even small spaces need definition.
Depending on how you want to use it, your zones could look like this:
- Zone 1: Entertaining/outdoor dining/BBQ
- Zone 2: Kids’/grandkids play area (or one for pets!)
- Zone 3: Vegie and herb garden or flower/succulent display
- Zone 4: Fit pit hangout – perfect for colder months
- Zone 5: Utility/storage and bin zone
When mapping out your zones, spend some time assessing the conditions and different environments around your backyard. Ask yourself:
- Where gets the most sun – and where stays shady? Great for deciding where to relax or grow plants.
- Does water pool anywhere after rain? Those spots might need drainage or a rethink.
- Any windy corners? Handy to know before setting up seating or a fire pit.
- Where do people naturally walk? These are perfect places for paths.
- What do you see from inside the house? Put your best zones where you’ll enjoy them most.
- Are there slopes or level changes? These can be features – or need planning around.
- Where would you like more privacy? Think screening or taller plants.
Once you’ve mapped out your zones, consider how they flow. Clear walkways make moving between areas a breeze, while simple dividers help each zone feel neat, defined and purposeful.
Be inspired: Simple backyard landscaping designs for spring entertaining

Add garden edging
Want that ‘professionally landscaped’ look? Start by framing your zones with Garden Edging!
Edging separates your lawn from garden beds, keeps soil and mulch in place, and stops sneaky grass from creeping in. Less maintenance for you, more time to kick back and enjoy your backyard.
And it’s not just practical. Edging your garden makes it look loved, cared for and polished as soon as you pop it in. Friends and neighbours will be impressed – and maybe a little green with envy!
Edging comes in all sorts of popular styles and designs to suit your vision:
- Keep it simple with our natural green or black Lawn Edge
- Pop in Classic Garden Edging that doubles up as a plant trainer
- Add some design flair with Matrix Garden Edging or Oxy-Shield Edging
Explore the range: Garden Edging
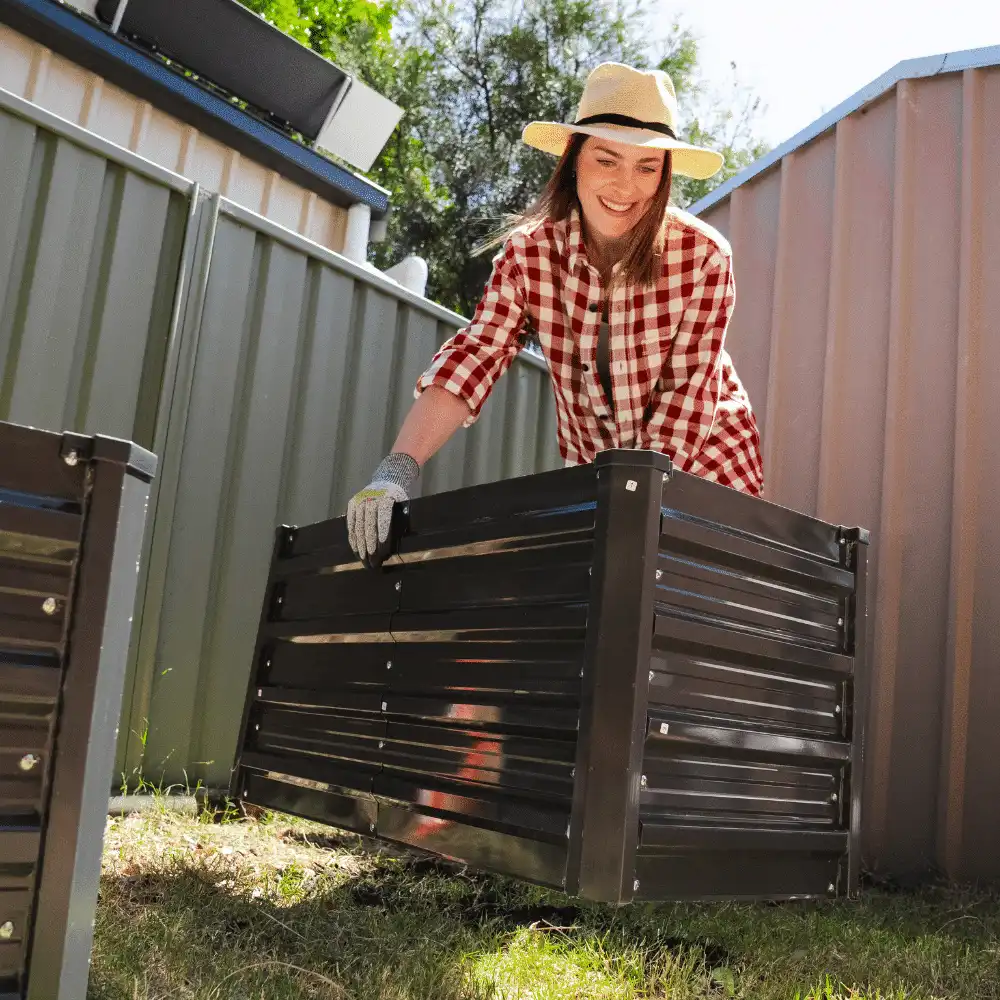
Set up some raised beds
Raised beds are a fantastic way to level up your landscaping game, with minimal effort. No one will think you’re a beginner when you add these to your space!
Here’s why raised garden beds are a landscaping win:
- Define zones – Raised beds act like low walls, separating your planting areas from your lawn, play or entertaining spaces.
- Instant definition – Clean lines give your yard a designed look, especially when beds are arranged in rows or repeated across the space.
- Space flexible – Raised beds come in lots of different sizes and styles – so you can find one to suit any space – from small plots to large backyards.
- Plant perfect – You can fill raised beds with a quality soil mix. Plus, they have good drainage. Gravity pulls the water down, so you don’t get soggy roots!
- Ergonomically-friendly – Because they’re raised, you don’t need to bend or kneel, so you can put your green thumb to work without aches and pains.
- Low maintenance – Raised beds keep weeds down and soil and mulch contained, so you spend less time pulling and sweeping.
Explore the range: Raised Garden Beds
Step 5: Install some garden screens
Garden screens are another easy but clever way to create some landscaping structure, function and style. We love them here at Jack!
Not only are screens a quick way to divide up your backyard, but they also block nosy neighbours, hide ugly bins or garden gear, and even act as a handy windbreak.
We’ve got a massive selection of Garden & Privacy Screens across our Jack Matrix and Oxy-Shield® ranges. Here’s a quick run-down of each:
- Matrix screens – Our eco-friendly Matrix screens are made from recycled plastic materials and come in 40+ stand-out décor designs and a choice of colours – so you can choose one that suits your vibe and style. Check out the Matrix Coolabah Decor Screen with Frame.
- Oxy-Shield screens – Made from weatherproof landscapers’ steel, our Oxy-Shield screens have a natural rusty finish that looks like something straight out of a garden design magazine. They also come in a choice of stylish cut-out designs – from bamboo to spirals.
Explore the range: Garden & Privacy Screens
Step 6: Finish it properly so it looks pro
Follow these steps, and your garden will be looking fabulous. Clever zones, crisp edges, raised beds, garden screens for definition, and plenty of natural and hardscaping charm!
The final step is the finish. Here’s how to add extra pro-level flair to your beginner landscaping efforts:
- Keep the finishes cohesive – With so many great products and designs to choose from, it’s tempting to throw in a bit of everything. For a polished, professional look, stick to 2–3 finishes – materials, colours and shapes – to keep your backyard cohesive and stylish.
- Ensure everything is secure – Once your edging, raised beds and screens are set up, you want them to stay put. If they start shifting, they’ll look sloppy. Grab some Edging Pegs and Landscaper’s Stakes to keep everything sturdy and looking sharp.
- Add the perfect plants – Your edging, raised beds and screens are in place – now it’s time to bring in the greenery! Choose the right plants and blooms to suit your space and conditions – and mix heights and colours for maximum ‘wow.’
- Add some rocks or pebbles – Sprinkling landscaping Rocks & Pebbles around your backyard instantly levels it up. They help define paths, highlight garden beds, and give your space texture and colour – without any extra maintenance!
Explore the range: Landscaping Accessories
DIY landscaping design checklist
Feeling inspired to start landscaping your Aussie backyard? Here’s a quick checklist of steps and elements you can copy and save for easy reference:
- Step 1: Think space, budget, use and time – Figure out what’s doable and what fits your family and lifestyle.
- Step 2: Plan backyard zones – Split your backyard into zones for entertaining, play, planting, chill-out and storage.
- Step 3: Add garden edging – Define beds, garden paths and lawns for a polished, low-maintenance look.
- Step 4: Set up raised beds – Add low walls, lift your garden, keep your plants and vegetables happy, and make planting easier.
- Step 5: Install garden screens – Divide spaces, add privacy, block wind, and create visual features.
- Step 6: Finish with style – Keep finishes cohesive, secure everything, add rocks and pebbles, and pop in the perfect plants, flowers, shrubs and trees.
Let’s get landscaping, outdoor lovers!
Ready to spend some time outdoors and get your backyard landscaping project underway?
Simply complete Steps 1 and 2, pick your Landscaping & Garden Design products and grab them from your local Jack supplier – then get outside and start shaping your vision!
Landscaped a fabulous backyard with Jack? Why not share some snaps on socials, tagging @meetdiyjack? We’d love to see the work of all you budding landscape designers and show others what it’s possible to achieve!
Pick your products: Landscaping & Garden Design
After more beginner landscaping inspo? Check out these other helpful resources: