Inspiration & Advice
Easy concrete DIY projects to crack on with this weekend

Looking for your next outdoor DIY project? Why not throw concrete into the mix? (Pun intended!)
This man-made rock—made from cement, aggregates, and water—might seem like a job for the tradies, but it’s actually pretty easy to work with once you know how. It’s also super versatile.
From securing garden edging to pouring firepit slabs, there are plenty of creative concrete projects you can tackle, even as a beginner!
Ready to crack on with crack-proof concrete DIY? Jack’s here to guide you through some fun, functional ways to use concrete in your garden, with tips, tools, and know-how to help you nail it.

Why choose concrete for DIY projects?
Concrete is a practical choice for your outdoor DIY projects. Here’s why:
- Creates solid foundations – Need to anchor a screen, post or garden structure? Concrete gives you a rock-solid base that won’t budge in high winds or soft soil.
- Lasts for decades – Once poured and set, concrete doesn’t warp, rust, rot, or get eaten by termites (unlike wood!)
- Stands up to weather – Come sun, rain, wind or frost, concrete is as low maintenance as it comes. Plus, it doesn’t need painting or sealing to stay effective.
- Very versatile – Whether you want stepping stones, footings, garden edging or something decorative, concrete is up for the job.
- Easy to work with – While the thought of using concrete can seem intimidating or messy, today’s ready-mix bags and fast-set formulas make using it for DIY easy!
- Looks good – Concrete doesn’t have to look cold or industrial. With the right finish or form, it can add a clean, natural feel to your space.
- Works indoors, too! – Concrete’s not just for outside. You can use it indoors to create fireplace surrounds and planter bases or to embed wall art into a feature wall.
- Budget-friendly – Ready-mix bags and easy-to-follow instructions mean you can do a lot yourself, saving on labour costs.
Beginner-friendly DIY concrete projects
If you’ve never used concrete before, don’t be put off or bring in a tradie. There are heaps of beginner-friendly and budget-friendly concrete DIY projects you can tackle to dip your toes in. Here are our top ideas:
Concrete garden edging – Build strong borders
Using concrete to secure garden edging in your back or front yard is a simple way to start mastering this multi-use composite material.
While you can just stick it in the ground, popping it into a poured concrete base keeps it firmly in place. It also prevents sinking or tilting and stops weeds or grass creeping under, making your garden stay sharp!
Give it a go with our Oxy-Shield Flat Edging Strips.
These oxidised steel edging strips will give your garden modern lines and a weathered, earthy finish. And when set in concrete, you’re giving them the staying power to match.
How to concrete
- Dig a shallow trench where you want your edge (50–100 mm deep).
- Pour a level bed of concrete into the trench.
- Press the edging into place (20–50 mm deep).
- Use stakes or pegs to hold it steady while the concrete sets.
- Once cured, backfill the soil, and you’re done!
If you’re going around corners or building frames, you’ll need to grab yourself some Edging Corner Stakes.

How to concrete:
- Position your stakes and pickets.
- Pour a small amount of fast-set concrete around each one (50–70 mm deep).
- Hold them level while the mix sets—no wobbles, no wandering lines!
See also: Garden edging ideas to elevate your yard.
DIY concrete paths – Walk this way…
A solid outdoor path makes any space feel more put-together, and it’s easier to lay than you might think. Whether you’re linking your patio to the vegie patch or just sick of muddy shortcuts, a concrete path keeps things neat, tidy, and easy underfoot.
How to concrete:
- Mark out your path with stakes and string.
- Dig to a depth of around 100–120 mm.
- Add a compacted gravel base.
- Set formwork to hold your shape.
- Mix, pour, and level your concrete.
- Finish with a broom texture for grip.
See also: Laying a concrete path (includes more detailed instructions plus tools and materials)
Install decorative screening – Pour and set for privacy
Pouring concrete foundations to hold modern decorative screens, like our Orbit Décor Screen With Frame, is a great little weekend project. It’s the solid way to keep your barriers standing tall—and your garden private and wind-proof.
How to concrete:
- Dig a trench about 100–150 mm deep where each post will sit.
- Place the screen posts into the trench, checking they’re level and straight.
- Pour fast-set concrete around the posts to lock them in place.
- Hold steady until the concrete firms up—no wobbling allowed.
- Once dry, enjoy a sturdy, stylish screen that stands strong!
Pour a concrete firepit slab – Chilly nights, sorted!
Love a fire pit in the cold season? Before the sparks fly, give it a solid base. A concrete slab keeps your firepit safe, level, and locked in—so it’s always ready for friends, chilly nights, and s’mores sessions!
How to concrete:
- Measure and mark out your slab area – square or circular pad (1.2–1.5m wide)
- Excavate to around 100–150 mm deep. Compact the soil for a sturdy base.
- Pour in a 50 mm layer of crushed rock or road base. Smooth and compact.
- Use timber boards or reo to box out the slab shape. Make sure it’s level.
- Mix and pour concrete evenly across the form. Use a screed to level it out.
- Use a float for a tidy finish. No need to go glossy—just even.
- Cover with a tarp if it’s hot or wet. Give it at least 48 hours to set.
See also: How to lay a concrete slab

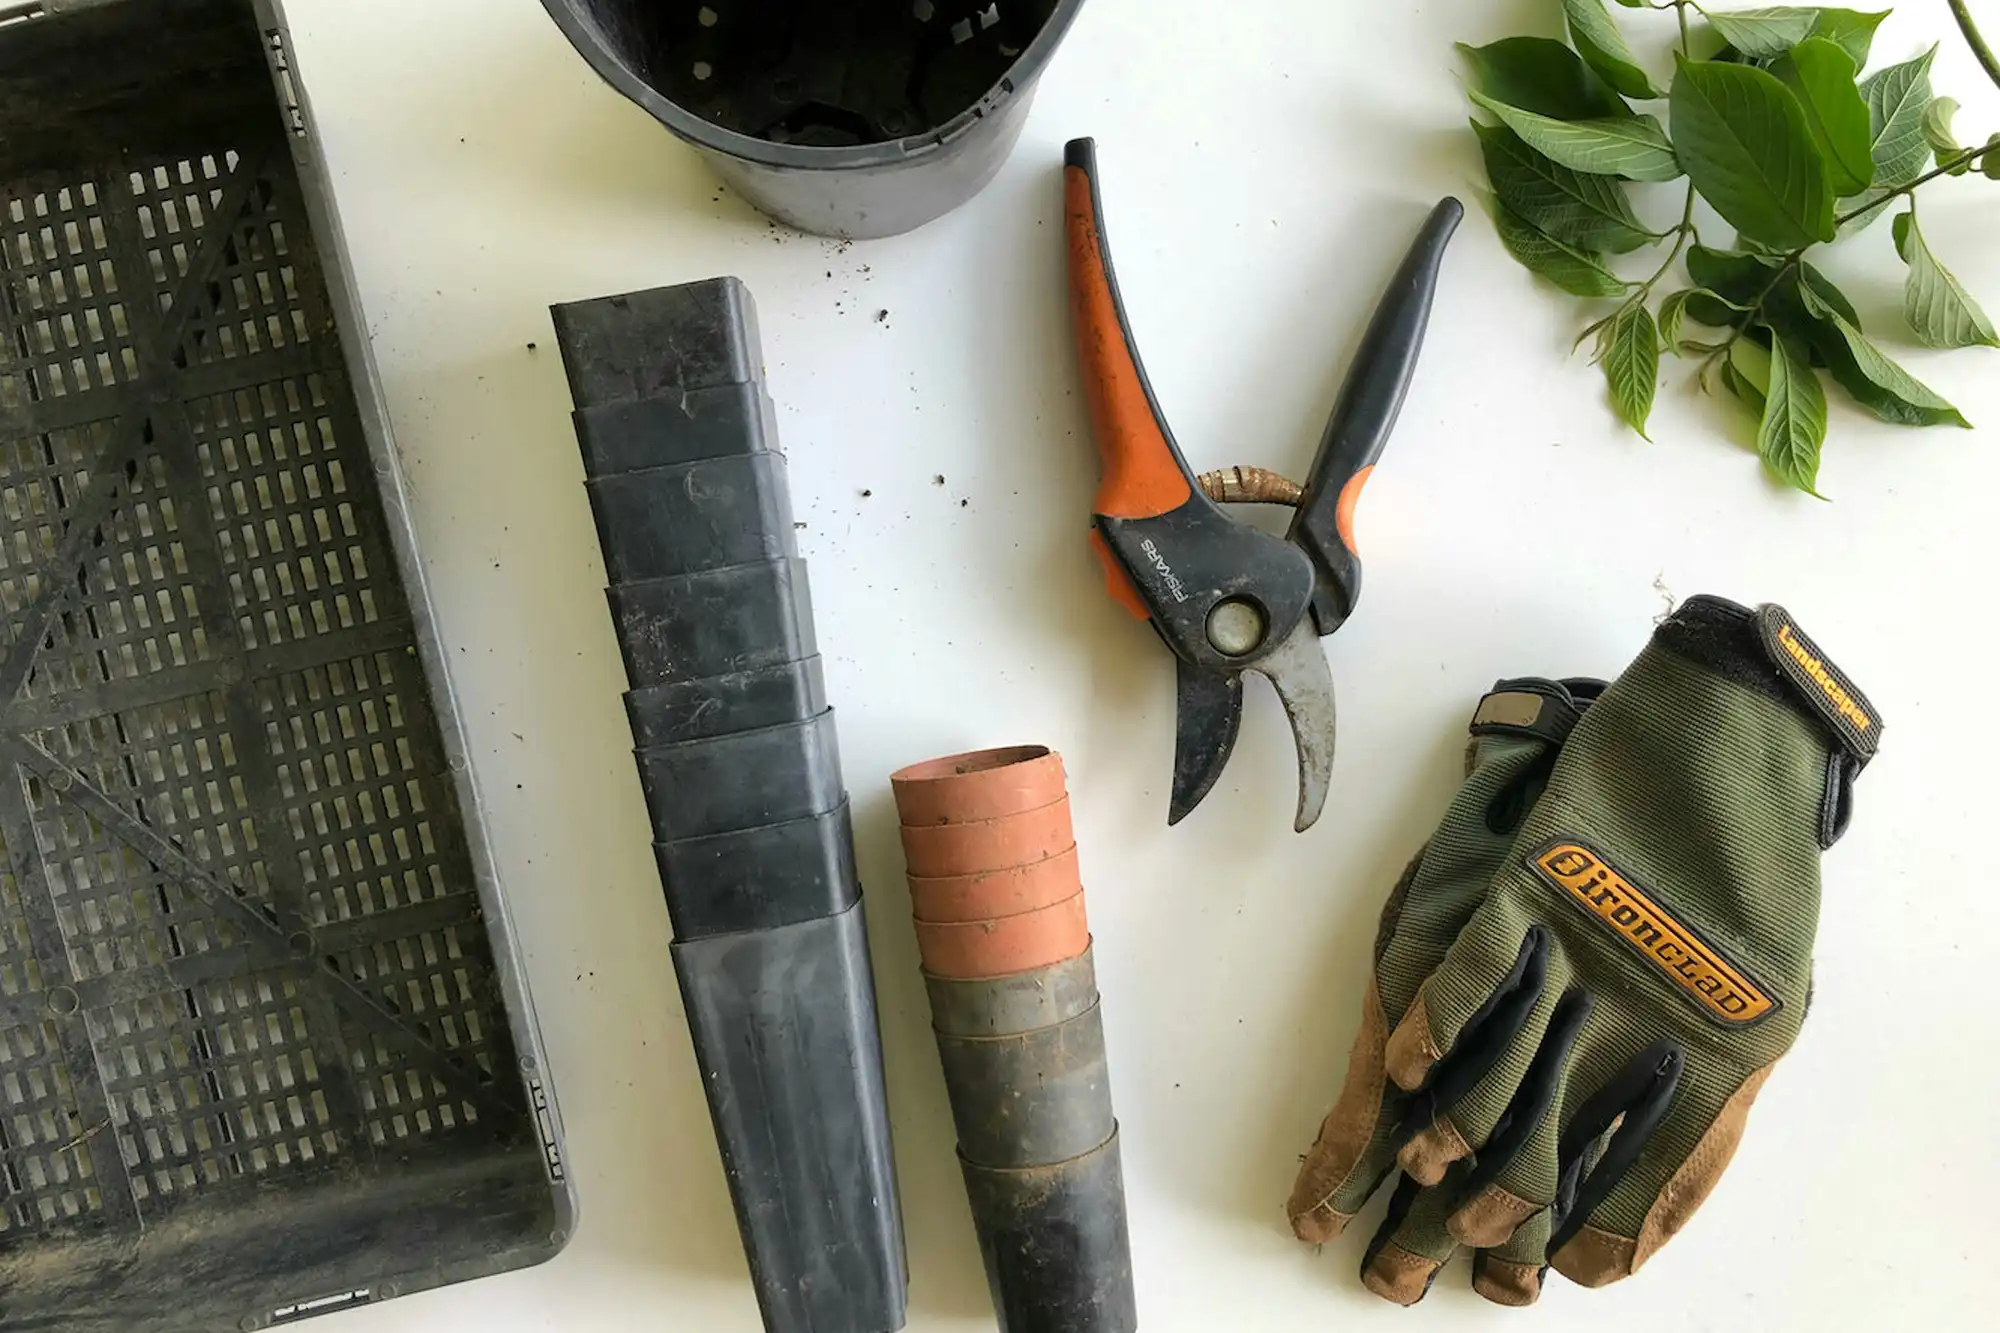
Jack’s concreting DIY toolbox
Ready to get your hands dirty? These trusty tools are the backbone of every concrete job:
- Wheelbarrow – Mix it up without a mixer. This common garden accessory is big enough to create smooth, lump-free concrete before the pour.
- Shovel and hoe – Your go-to for mixing, moving, and spreading concrete like a pro.
- Trowel – For smoothing, shaping, and giving your concrete that slick finish friends and neighbours will admire.
- Screed board – A straight piece of timber, aluminium, or plastic that you drag across the surface of your wet concrete to level it out and remove any excess.
- Float – Helps even out the surface and prep it for the final look—matte, smooth or textured, you pick!
- Edging tool – Perfect for clean, sharp edges on paths, slabs, or edging projects.
- Level – Make sure everything’s flat and fair—no wonky slopes in sight!
- Measuring tape – Because size does matter, get your dimensions spot on every time.
- Buckets and water source – Concrete gets thirsty, so keep water handy for mixing and cleaning.
- Gloves and safety gear – Protect your hands and eyes. Concrete can burn your skin and cause nasty eye injuries or irritation.
As well as standard garden tools and gear, you’ll also need the right Jack concreting hardware to ensure your pour and project go smoothly:
- Reo Bars and Mesh – Add strength and structure to reinforce your concrete so it lasts longer and stays crack-free.
- Bar Chairs – Support your reo bars at the right height so they stay in place during the pour.
- Trench Mesh Supports – Hold trench mesh in position to ensure consistent strength through your concrete.
- Formwork Stakes – Secure your formwork so your concrete holds its shape with clean, straight edges.
- Foundation Bolts – Fix posts, screens, or your garden shed into place by setting bolts directly into the concrete for years of stability.
Handy Jack concreting tips – safety first!
Safety’s part of the foundation for any solid concrete project. Here are a few quick Jack safety tips to keep things smooth, not sketchy:
- Gear up – Always wear gloves, a dust mask, eye protection, and boots. Wet concrete can burn skin, and dry mix dust is no joke.
- Mix in a well-ventilated area – Whether it’s bags or a mixer, keep the airflow moving to avoid breathing in too much dust.
- Lift smart – Concrete’s heavy. Use proper lifting techniques or get a mate to help if you’re shifting full bags or wet mix.
- Clean spills quickly – Once concrete starts to set, it’s tough to shift. Rinse tools and wipe mess from surfaces while everything’s still wet.
- Check your surroundings – Know where cables, pipes, or tree roots are before you start digging or pouring.
Concrete DIY project FAQs
Still got some unanswered questions about concrete DIY? Jack’s got you covered.
Can I do concrete DIY without experience?
Yep, you sure can! Concrete may seem like a job for a tradie, but with the right Jack know-how and a bit of prep, it’s surprisingly beginner-friendly. Start small and work your way up to harder concrete tasks.
What tools do I need for basic concrete work?
- You don’t need a trailer full of gear. For most small concrete jobs, grab:
- A wheelbarrow or mixing bucket
- A shovel or hoe
- Trowel or float
- Gloves
- Screed board (a bit of straight timber will do)
- Spirit level
- Some formwork
How do I prevent cracks in my projects?
Cracks usually come from rushing the job or skipping the reinforcement. Use Jack’s reo mesh or bar chairs to keep things strong. And don’t let it dry too fast! Keep your concrete nice and moist for a few days to cure properly.
How long does concrete take to set?
Fast-set concrete can be ready in 20–40 minutes. Regular concrete takes 24–48 hours to harden and up to 28 days to cure fully. (We know that sounds like a long time—but it’s worth it.)
Do I need to seal my concrete?
For garden projects, not always. Jack’s products are made to handle the elements. But if you want to protect a surface from stains or give it a certain finish, a sealer can help.
What type of concrete should I use?
For most DIY jobs, pre-mixed concrete is the way to go. Just add water, and you’re off! Fast-set’s great if you want to get stuck in straight away, but stick with a standard mix if you need more time to work. And always double-check it’s the right mix for the job—especially when you’re working with steel.
What’s the best weather for concrete DIY?
Mild is ideal. Too hot, and it sets too fast. Too wet, and it can wash out. If it’s windy, cover your pour with plastic (like our all-purpose Tarp & pegs) so it doesn’t dry unevenly.

Ready for a weekend of concreting fun?
Explore our full DIY product range and head to your local Jack supplier, including Bunnings DIY, to get everything you need to master the art of concreting.
Completed a solid or striking concrete project you’re proud of? Take a pic and tag @meetdiyjack on socials. You might get a shoutout or share from us. We love seeing the wonderful things you create!