Inspiration & Advice
5 common retaining wall mistakes (and how to dodge them)
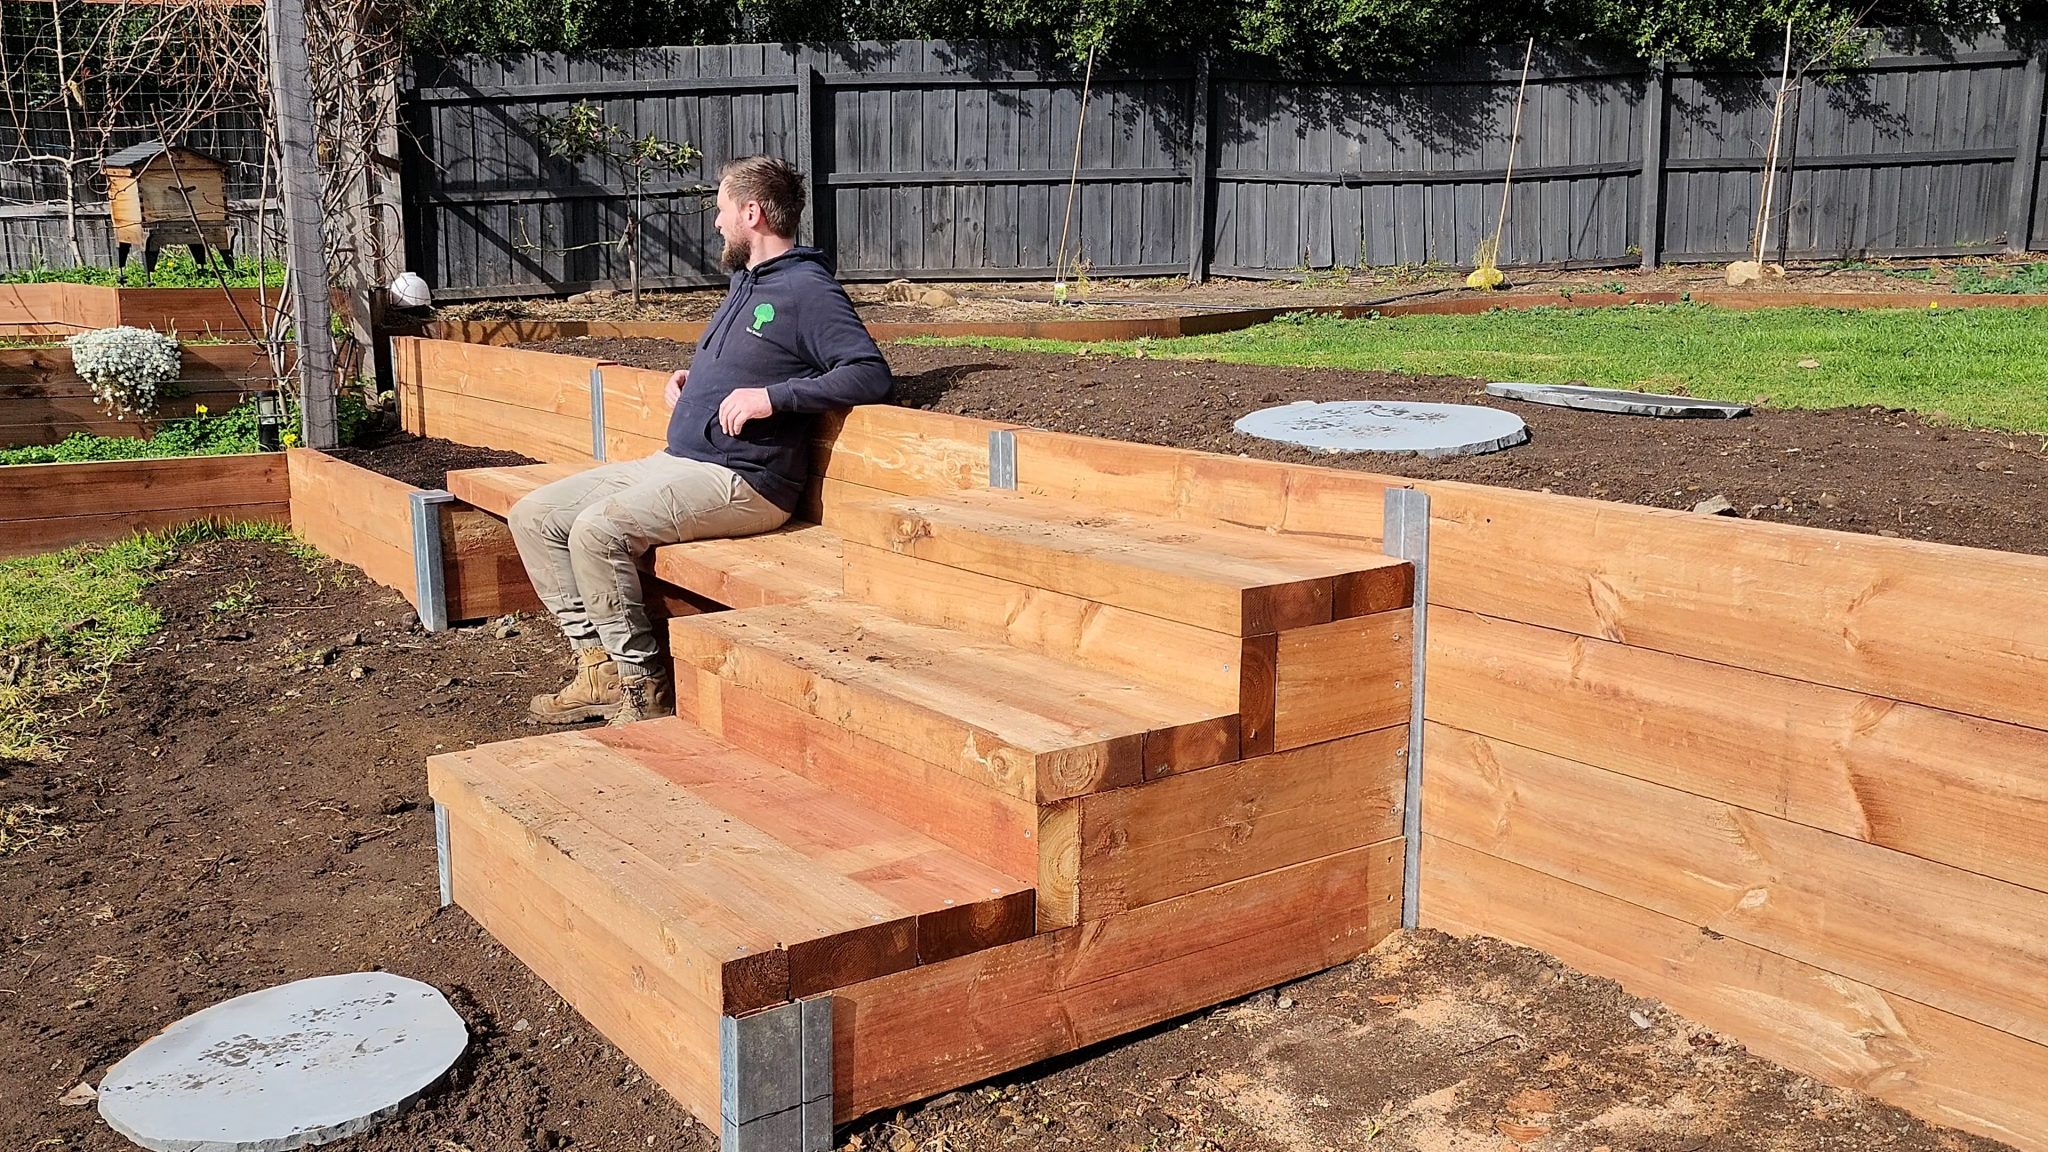
Keen to make your hilly yard usable for growing, entertaining or just giving the kids somewhere to kick a ball?
Need to hold back soil after some minor excavation?
Want to add raised beds and tiers to a drab outdoor space?
Sounds like you need a retaining wall or two!
These practical landscaping features are the perfect way to wall with purpose. And if you don’t want to pay a pro, they’re a satisfying, budget-friendly DIY project to get stuck into.
But before you grab your materials and shovel, let’s look at the most common retaining wall mistakes eager wall builders make, so you can build confidently and install without a fall!
Explore category: Retaining Wall Posts (Retain-iT®)
Mistake #1: Choosing the wrong retaining wall type for your yard
Not all retaining walls are created equal, and picking the wrong type for your yard or job has left many DIYers saying more than just ‘Doh’!
A wall isn’t just a wall in the world of retaining. Looks, cost, and purpose should play into the decision-making process. But retaining is also engineering, so your soil, slope and site conditions should also influence the retaining wall you pick.
Handy Jack tip!
- Sandy soil: Add a deeper footing or compacted base to stop shifting.
- Clay soil: Add good drainage behind the wall to reduce water pressure.
- Rocky soil: Use smaller blocks or modular walls for easier installation.
How to choose the right retaining wall (simple checklist)
- What’s the job? Are you edging a garden bed, creating tiers for planting or entertaining, or holding back a serious slope? The bigger the structural ask, the beefier your materials need to be.
- How high and how steep? Wall height changes everything. Anything over 600mm–700mm starts to carry real load, and in most states, anything over 1m needs council approval and possibly an engineer. Measure your slope and know your numbers before you shop. If you have a really steep pitch, consider tiered walls or reinforced footings to keep it stable.
- How thick do your sleepers need to be? 50mm timber sleepers suit lighter garden edging and low walls. Step up to 75mm for anything taller, heavier or structural. It’s not a place to cut corners – or costs! Timber trumps concrete sleepers for DIY projects for weight, natural warmth and flexibility.
- Straight runs or corners and ends? A straight run is straightforward. As soon as you add corners, returns or steps, you need to think about how your materials meet and finish. Plan it out on paper first – future you will be grateful!
- How’s your access? Sleepers are heavy, and retaining walls need decent amounts of material. Can you get a wheelbarrow in? Is there room to manoeuvre? Bad access doesn’t make a job impossible, just a lot harder and sweatier than it needs to be!

Mistake #2: Ignoring drainage (the no 1 reason for retaining wall fails!)
There was one thing we deliberately left out of Mistake #1: drainage. That’s because it deserves a whole section of its own!
Without factoring in proper drainage for your retaining project, water will pool, and the soil behind the wall will get heavier. The result? Your wall may start to lean forward…and could eventually buckle. Goodbye, all your hard work!
Lay a holey pipe (officially called an ag pipe) in a gravel bed along the back of your wall, making sure it’s tilted so water finds its way out. If H2O’s coming over the top, guide it away with a channel.In sticky Aussie clay, go generous with the gravel and do a quick hose test. A little effort now saves a whole lot of soggy headaches later!Learn the steps to good drainage in this handy how-to: Building a retaining wall
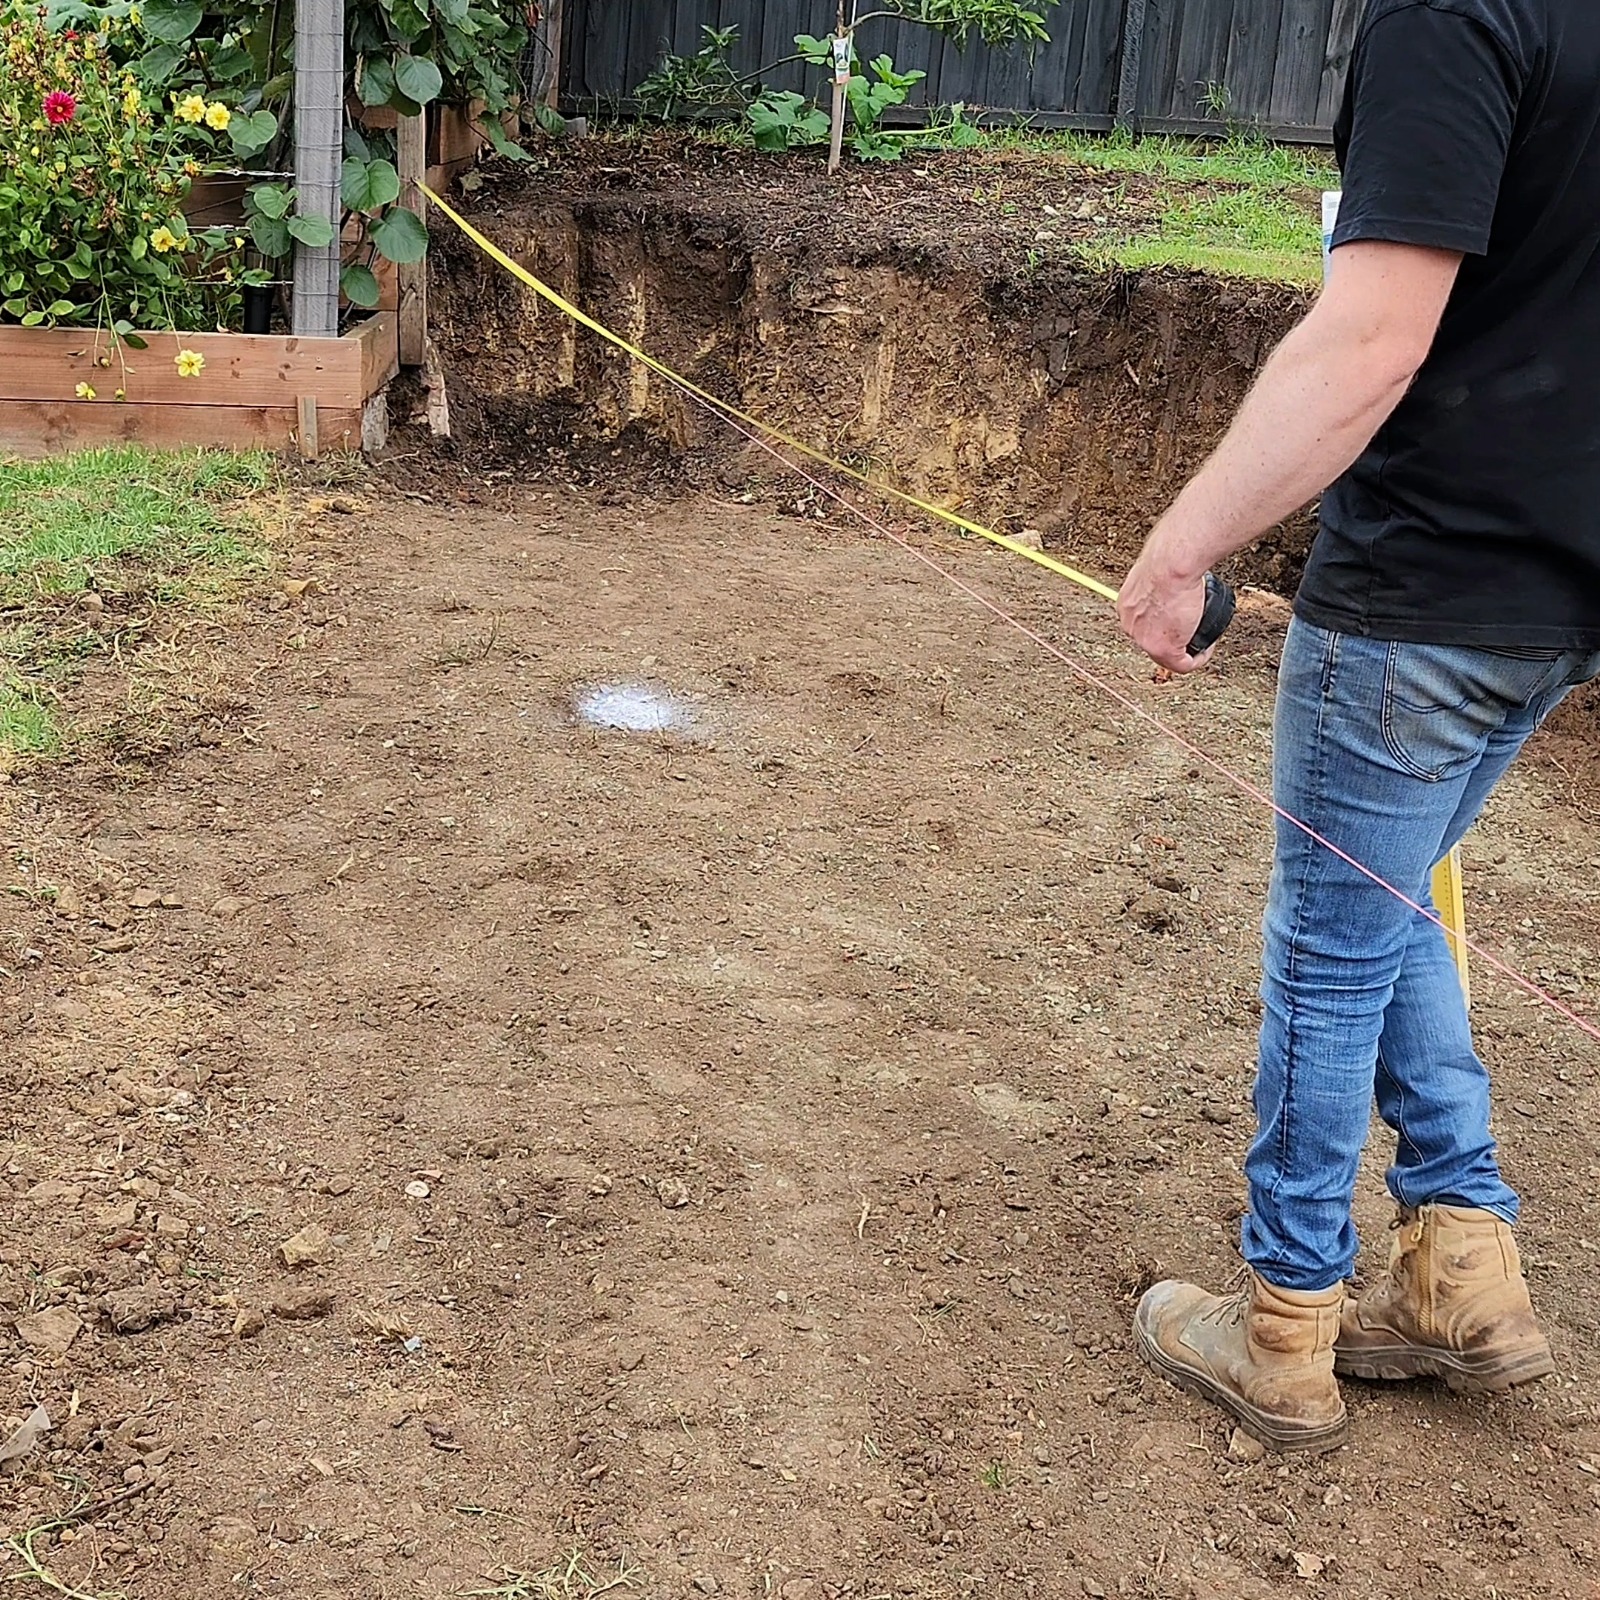
Mistake #3: Rushing the set-out stage for a retaining wall
While you may want your retaining wall to be built yesterday, many people let impatience push them through the important set-out stage. But skipping this important step is a recipe for regret.
The more time you spend measuring, aligning, spacing and checking levels, the better your retaining wall will be. Without doing these things properly, your wall will likely look like you built it in the dark!
How to get your retaining wall setup right
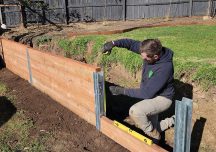
Grab a string line, a spirit level, and a tape measure – that’s honestly all you need. The string line does the heavy lifting, giving you a reference point for the entire wall so nothing drifts out of alignment.
If something does go slightly off, catch it early. A slightly misaligned post can usually be nudged back before the concrete sets. Once it’s locked in, you’re fighting it for the rest of the build. So, check, check and check again while you still can!
Make it easy with: Retain-iT Post System
Mistake 4: Picking sleepers and posts that don’t match properly
Here’s one that trips DIYers up more than you’d think. People buy sleepers and posts separately, assume all systems are interchangeable, and don’t realise until it’s all laid out that the sizing is off – facepalm! It’s not always obvious in-store or online.
But if your posts and sleepers aren’t the same thickness, you’re looking at gaps, wobbles and a finish that just doesn’t sit right. You’ll be kicking yourself for assuming they’d fit.
How to pick the right sleeper and posts
Check and double-check the thickness of your sleeper before you buy anything else.
Here’s a quick guide:
- 200x50mm: Light duty (short walls <400mm, edging). Cheapest, easiest to handle solo – check out our Retain-iT Classic 50mm System
- 200x75mm: Sweet spot for most DIY (400-800mm walls). Balances strength/budget – check out our Retain-iT Classic 75mm System
- 200x100mm: Heavy-duty (800mm+ walls). Needs closer posts but holds greater soil pressure.
Once you’ve picked the right sleepers for your timber wall, match your posts to the same thickness. If you’re buying in-store, hold them together. If you’re buying online, reread the product specs before you add to cart.
Follow along: How to erect a raised garden bed with Retain-iT

Mistake #5 - Not factoring in height, rules, neighbours and safety
People often underestimate the rules around retaining walls – don’t be one of them! Before you dig a single hole, know what you’re allowed to build, how high you can safely go and what your neighbourly responsibilities are.
The good news is that a bit of homework upfront saves a lot of grief later. Most of it’s just a chat, phone call or council website check away. And it’s a lot easier than pulling down a wall that shouldn’t have gone up in the first place!
How to tick the boxes before you build
Here’s a handy checklist to cover all your bases:
- Height and permits – Many councils have a height threshold, often 600mm to 1m. If you want your wall higher, you’ll need a permit or an engineer’s sign-off for building approval. Check at the start, not after its built!
- Neighbours and boundaries – If your wall is near a boundary, have a chat with your neighbour early. Retaining walls can affect water runoff onto adjoining properties, and that’s on you!
- Safety and load – Make sure your retaining wall can handle what’s behind it – soil pressure, drainage and anything sitting above. Always set posts in concrete, not soil, and note that some councils specify minimum requirements for taller walls. When in doubt, get advice from a pro.
Follow along: Building a retaining wall
Frequently asked questions – retaining walls
Now we’ve covered the most common mistakes that trip people up when it comes to building DIY retaining walls, here are the questions we get asked most, answered.
Q: What materials and tools do I need to build a retaining wall?
A: Nobody wants to make two trips to the hardware store. So, before you start, make sure you’ve got the following wall materials and tools:
- Posts and sleepers (matched in thickness – see Mistake 4!) Our heavy-duty, galvanised steel Retain-It Post Systems are the perfect pick.
- Drainage gravel
- Ag pipe
- Concrete
- Tools: spirit level, string line, tape measure, post hole digger
- Stakes (for extra finishing or reinforcement)
Q: Do I need drainage behind a retaining wall?
A: Yes, always – see Mistake #2! Without drainage, water builds up behind a retaining wall, and the pressure will eventually push it over. An ag pipe and drainage gravel are non-negotiable for any retaining wall project. Skip it, and your wall might not be a wall for long!
Q: What’s the number one retaining wall mistake people make?
A: Skipping drainage! It’s the mistake that causes most retaining walls to bend and buckle, and it’s completely avoidable with a few easy steps.
Q: How do I choose between 50mm and 75mm sleeper retaining wall systems?
A: Match your system to your sleeper thickness. If you’re using 50mm sleepers, go with our 50mm galvanised steel post system. 75mm sleepers need a 75mm system. Simple as that! Mixing them causes gaps and wobbles.
Q: How deep should retaining wall posts be set?
A: As a general rule of (green!) thumb, one third of the total post length should be in the ground. So this means a 1.8m post needs around 600mm below ground level. The taller the wall, the deeper the post.
Q: What retaining wall height needs council approval in Australia?
A: It varies by council and state, but many have a threshold of around 600mm to 1m. Above that, you may need a permit or a structural engineer’s sign-off. Always check with your local council before you build.
Q: How far apart should retaining wall posts be spaced?
A: Typically, around 1.2m to 1.5m apart for standard DIY retaining walls, but always follow the specs for your system. Spacing affects load distribution, so whatever you do, don’t guess.
Q: Why is my retaining wall leaning, and how can I prevent it?
A: Usually one of three things:
- Posts not deep enough
- Poor drainage, causing pressure buildup
- Spacing that’s too wide
Get those three things right from the start, and your wall should stay put.
Q: Can I build a retaining wall on a boundary fence line?
A: It’s complicated. You’ll need to consider council setback rules, your neighbour’s agreement and who’s responsible for water runoff. Talk to your council and your neighbour before you start constructing retaining walls.
Turn these mistakes into retaining wall wins!
Don’t let making mistakes put you off – every mistake on this list is completely avoidable. And now you know what to watch for, you’re already ahead of most DIYers!
Ready to get building? Simply pick your products and head to your local Jack supplier to grab them! You’ll find us on the shelves at your local hardware store. Just make sure you check stock availability first!
Retained it like a pro – minus any retaining wall failures? Why not share some snaps on socials, tagging @meetdiyjack? You might just get a call out!
Explore the range: Retain-iT
Check out these other helpful resources:


Garden Landscaping Ideas
to Beautify your Backyard
Looking for some easy DIY gardening landscaping ideas? Jack’s got your back wi
Read More

Simple Backyard Landscape Designs for Spring Entertaining
Turn your backyard into the perfect spot for garden parties, casual BBQs and fam
Read More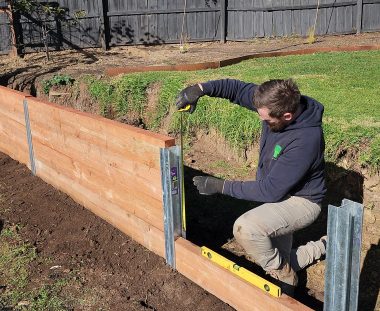
Building a Retaining Wall
Never built a retaining wall before? No worries, Jack's got your back (and your
Read More