Inspiration & Advice
Jack’s no-fuss guide to container gardening for newbies

If you’re going to start your growing journey anywhere, start with container gardening.
Container gardening means planting in—yep, you guessed it—containers like pots and planters instead of directly in in-ground beds.
Not only does it offer a heap of benefits (like being perfect for small or urban yards), but a container is also a great green-thumb trainer. It lets you test your gardening skills on a smaller scale. If you’ve been pottering outdoors for a while, it’ll add a fresh dose of joy.
Before we help you pick the perfect containers and plants—and show you how to get started—let’s dig into some of the other awesome benefits of container gardening.
Container gardening is as popular as a Bunning’s sausage sizzle on a Saturday morning. Here are some of the top reasons why we love it here at Jack:
- Total control over conditions – Unlike garden beds, you call the shots, not the weather or your soil. You can fill containers with nutrient-rich potting mix, manage moisture, and move your plants when they’re looking a little sunburnt or blown away.
- Ideal for renters – Can’t dig it? No worries. Containers let you grow without going against your landlord’s wishes. And the best bit? You can pack up your potted paradise and take it with you when you move. No lease-breaking required!
- Perfect for pint-sized plots – No biggie if you don’t have much of a yard. Container gardening lets you grow fresh herbs, flowers or vegies in even the tiniest of spaces, including balconies, courtyards and windowsills.
- Fewer pesky pest attacks – Because containers and pots keep your plants raised and contained, they’re less likely to attract pests or weeds. They’re also easier to cover with netting. Goodbye, nibbled basil or begonias!
- Enhance your aesthetic – Containers are a quick way to make your spaces look like you have your gardening act together. You can style them in groups, place them in rows and choose from lots of different designs and sizes.
- Grow your skills and your greens – If you’re new to gardening, containers are perfect as they’re more manageable than a full yard. They allow you to trial, tweak and learn as you grow. Before you know it, you’ll be knee-deep in vegies, blooms and compliments!
Choosing the right containers
There are so many options when it comes to garden containers. You’re seriously spoilt for choice.

Purpose-made plant containers
The easiest pick? Purpose-made containers like classic pots, long planters, troughs, hanging baskets or raised garden beds. They’re designed for the job and often come with handy features like built-in drainage and lightweight materials. Plus, they come in all sorts of shapes, sizes, colours and materials.
DIY plant containers
Another option is to DIY your own garden container from buckets, jars, cans—even old sinks, bathtubs or boots. Basically, anything that holds potting soil! It’s a great way to reuse what you’ve already got lying around, especially if you’re looking to save money or add a bit of personality to your space.
Here’s a checklist of what to consider before you choose:
- Drainage – Does the container have holes in the bottom? If not, can you make some? Good drainage is non-negotiable. Soggy roots = sad plants.
- Where it’s going – Popping your container in full sun? Go for something that won’t overheat, like terracotta or light-coloured plastic. Sitting it in a shady spot? Most materials should be good to go.
- Weight – Big pots, troughs and raised beds, like our Square Raised Garden Bed, full of wet soil, are heavy. If you’ll need to move your container, look for lightweight pots and materials, or pop it on a Jack plant trolley for easy gliding.
- Clean and food-safe – Upcycling is great for the planet. But check that your materials are safe if you’re growing edibles. Avoid containers treated with harsh chemicals, paint or anything a bit sus.
- Style – This one’s totally up to you! Match your containers to your garden vibes. Sleek and modern, rustic and reclaimed, bright and cheerful… anything goes!
If you’re looking for a planter with some real wow, our rectangular OxySheild Café Series Planter add some oxidised architectural chic to your potting projects. Or opt for a more traditional bucket style with our OxySheild Copa Plant Series.
They might be made from oxy-steel, but they’re completely food-safe. No rust, barely any zinc seepage. And even then, it’s a tiny dose of a natural micronutrient your body actually needs.

Best plants for container gardens
Another important thing to consider when picking your perfect containers is what you’re planning to pop in them. “What are the best plants for containers?” is a question we get a lot.
To help you out, here’s a handy Jack-approved list of great container plants and edibles:
Herbs
- Basil
- Parsley
- Mint (keep it in its own pot — it spreads fast!)
- Coriander
- Chives
- Thyme
- Oregano
- Rosemary
Leafy greens and vegies
- Lettuce
- Spinach
- Silverbeet
- Rocket
- Kale
- Asian greens (like pak choy or tatsoi)
Fruit and vegetable plants
- Cherry tomatoes (especially dwarf varieties)
- Chillies and capsicums
- Strawberries
- Dwarf citrus trees (lemons, limes, mandarins)
- Eggplants
- Zucchinis (in large containers)
- Potatoes (in grow bags or deep pots)
- Carrots and beets (in deep containers with loose soil)
Best flowers for containers
Sun-lovers
- Petunias
- Marigolds
- Geraniums
- Portulaca
- Salvia
- Gazania
- Zinnias
Shade-tolerant
- Impatiens
- Begonias
- Fuchsias
- Viola/pansies
- Coleus
- Caladium
Others plants that love pots
- Succulents (ideal for hot, dry spots)
- Dwarf native plants (like Correa, Grevillea and Kangaroo Paw)
- Lavender (needs full sun and good drainage)
- Aloe vera (low-maintenance and handy!)
- Snake plant and peace lilies (great for indoors or shady corners)

Container planting for sun vs shade
We’ve already touched on sun and shade, but let’s dig a little deeper. Some outdoor spots soak up the sun all day, while others stay cloaked in shade. With the right plants and containers, you can make the most of both.
Sunny spots and balconies
If you’ve got a small space like a sun-drenched balcony or courtyard, you’re in luck! That’s prime real estate for container-potted herbs, fruiting vegies and sun-loving flowers.
Try planting:
- Cherry tomatoes
- Basil, oregano and rosemary
- Strawberries
- Petunias, zinnias and marigolds
In the shade or sheltered corners
Don’t write off the shady side of your garden or patio. Plenty of plants and edibles love low light and cool soil.
Great picks for a shade container garden:
- Mint, parsley and coriander
- Lettuce, rocket and spinach
- Begonias, impatiens and ferns
- Caladiums or coleus for colour

How to plant in containers – made easy!
Whether it’s a pot on your porch or a full raised bed out back, successful container gardening begins with getting the set up right.
Here’s how to plant in containers, broken down by container type.
Pots (small to medium)
Perfect for herbs, flowers and leafy greens. How to plant a plant in a pot:
- Step 1: Add drainage – Most plants prefer pots with holes. But failing that, drill holes or add a scoop of pebbles or clay balls to stop soggy roots.
- Step 2: Fill with potting mix – Use a lightweight, well-draining potting mix (not garden soil). Fill the pot, leaving about 2–3 cm of space at the top so water doesn’t spill over when you water.
- Step 3: Plant – Dig a hole in the soil roughly twice the size of your plant’s root ball. Place your plant in the hole, then gently press the soil around the roots to remove air pockets and provide stability—don’t pack it too tight!
- Step 4: Water well – Do it slowly and thoroughly. This helps settle the soil around the roots and gives your plant a good start in life.
Planter boxes (window boxes, troughs)
Ideal for balcony gardens/mixed displays. How to plant in a planter box:
- Step 1: Line the base if needed and check for drainage holes – If your planter box doesn’t have holes, add some or line the base with landscape fabric or Coir Basket Liners to help retain soil while letting excess water escape.
- Step 2: Layer in potting mix – Use a well-draining, lightweight potting soil mix specially designed for containers. Fill your planter, leaving about 2–3 cm from the top to allow for watering without a trickling overflow from the soil surface.
- Step 3: Group plants by needs – Arrange plants with similar sun and water needs together. For example, group sun-loving herbs or drought-tolerant succulents separately from water-loving leafy greens. This makes care easier and helps your plants thrive.
- Step 4: Water slowly – Water gently to allow moisture to soak deep into the soil without washing away the potting mix. But don’t let it retain water. Check that water drains well from the bottom to avoid sad, soggy roots.
Raised garden beds
For when you’re going slightly bigger scale. How to plant a raised garden bed:
- Step 1: Prep the base – Pop your bed on soil or grass so roots can grow deep. If it’s going on concrete, pavers or decking, line the bottom with geotextile fabric or thick cardboard to help with drainage and stop soil from washing out.
- Step 2: Add some layers – Start with a layer of cardboard or newspaper to smother pesky weeds, then add compost, followed by quality potting mix or raised bed mix, and finish with mulch to lock in moisture. You can also mix in slow-release fertiliser for extra yummy plant nutrients.
- Step 3: Plant your crops – Plan your layout so taller plants don’t shade shorter ones. Space things out to allow airflow and room to grow. Companion planting (e.g., basil with tomatoes) can help with pest control and plant health.
- Step 4: Water deeply – Give everything a solid soak so water reaches the roots and helps the soil settle. Raised beds drain faster than ground soil, so keep an eye on moisture levels—especially in summer.
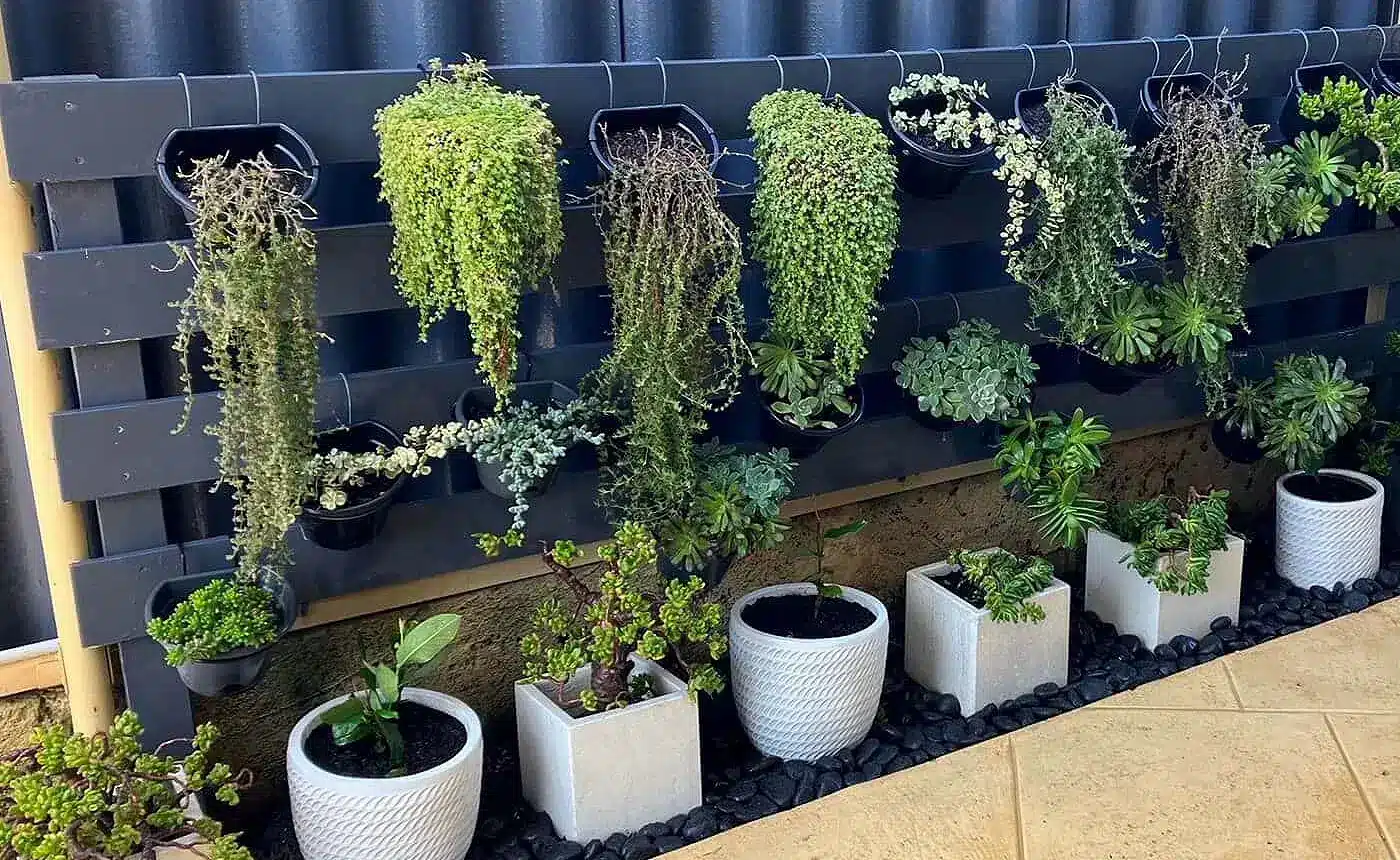
Vertical container (Garden Up, Hanging Baskets)
For growing up instead of out. How to plant a vertical garden:
- Step 1: Check drainage – Make sure your vertical planter or basket has holes or built-in drainage to avoid soggy roots that will make your plants sad.
- Step 2: Line if needed – Some hanging baskets love a cosy layer of coconut coir or landscape fabric—it keeps the soil snug while letting water flow right through.
- Step 3: Fill with lightweight pot mix – Skip heavy garden soil; it weighs your pots and baskets down and dries out super slowly.
- Step 4: Plant your picks – Herbs, succulents, trailing plants, or small flowers work great. Just keep your plant pals grouped by their sun and water cravings.
- Step 5: Water slowly and evenly – Vertical gardens dry out faster, so keep an eye on the soil moisture and water regularly to keep the roots happy and thriving.
Check out our Garden Up Hanging Planters, Petite Wall Pots and Decorative Baskets. They’re small containers are a fab way to add vertical interest to your garden, especially where space is short.
Tubs, buckets and DIY containers
If it holds soil, make it a planter! How to plant in repurposed containers:
- Step 1: Check it’s food-safe – If you’re growing herbs, veggies or any edibles, check your container isn’t coated in yucky toxic paint or made from treated timber or plastics that can run into the soil and make you sick.
- Step 2: Drill drainage holes if there aren’t any – Most repurposed containers don’t come with holes, so drill a few in the base to avoid wet roots. No drill? Add a generous layer of pebbles, gravel or clay balls to help unwanted water drain easily away.
- Step 3: Fill it with potting mix – Use a good-quality potting mix suited to what your plantlings need. You could also mix in compost or slow-release fertiliser. Leave a few centimetres at the top for watering.
- Step 4: Plant and water – Pop your plants in, give the soil a gentle squeeze around them, then water nice and slow to help those roots settle in and push out any sneaky air pockets.
Whatever container you choose, the basics stay the same: good drainage, the right mix, and plants suited to your space.

Ready to go container crazy?
When it comes to good, easy growing, containers really are a no-brainer!
If you’re ready to go container crazy, simply pick your perfect Jack products—from pots and plants to raised beds and drainage coil—then head to your nearest local supplier to grab them!
Created your first container garden and grinning with pride? Why not pop some snaps on socials, tagging @meetdiyjack? We’d love to see and share your handiwork!
After some more inspo? Check out Go potty: a simple guide to container gardening.