Inspiration & Advice
Laying a concrete path
Laying a concrete pathway
Solidifying your outdoor plans
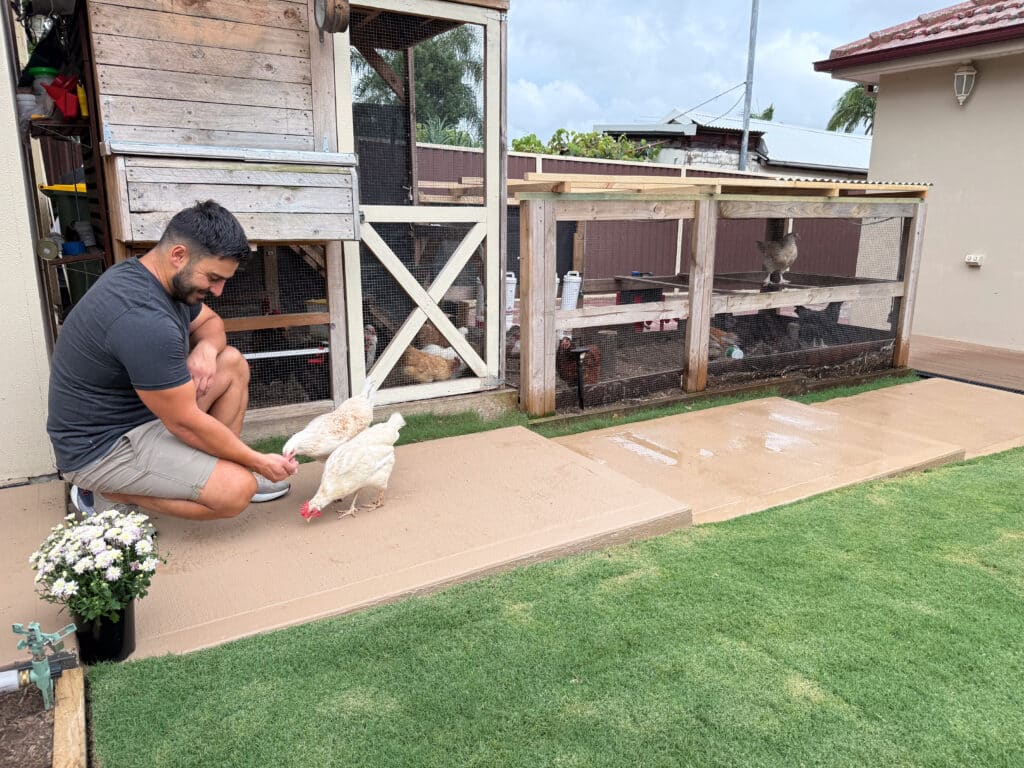
Thinking about giving your backyard a bit of an upgrade? Maybe you’ve got a well-worn dirt track where a proper path should be, or you’re just tired of dodging muddy puddles after the rain. Whatever the case, a concrete pathway is a solid (literally) way to step up your outdoor space.
The good news? You don’t need to be a tradie to pull this off. With a bit of planning and the right tools, you can lay a clean, durable path that’ll last for years. And let’s be honest, nothing ruins the backyard vibe faster than sinking into the mud on your way to the BBQ.
So if you’re ready to trade wobbly stepping stones for something more reliable, Jack will help you get cracking!
Tools & Materials


Additional materials needed for this project:
- String line
- Measuring tape
- Shovel
- Gravel or crushed stone
- Hand tamper or plate compactor
- Wooden or metal formwork
- Level
- Pre-mixed concrete
- Bull float
- Edging Tool
- Groover
- Plastic sheet or curing compound
Your step-by-step guide
Plan & measure
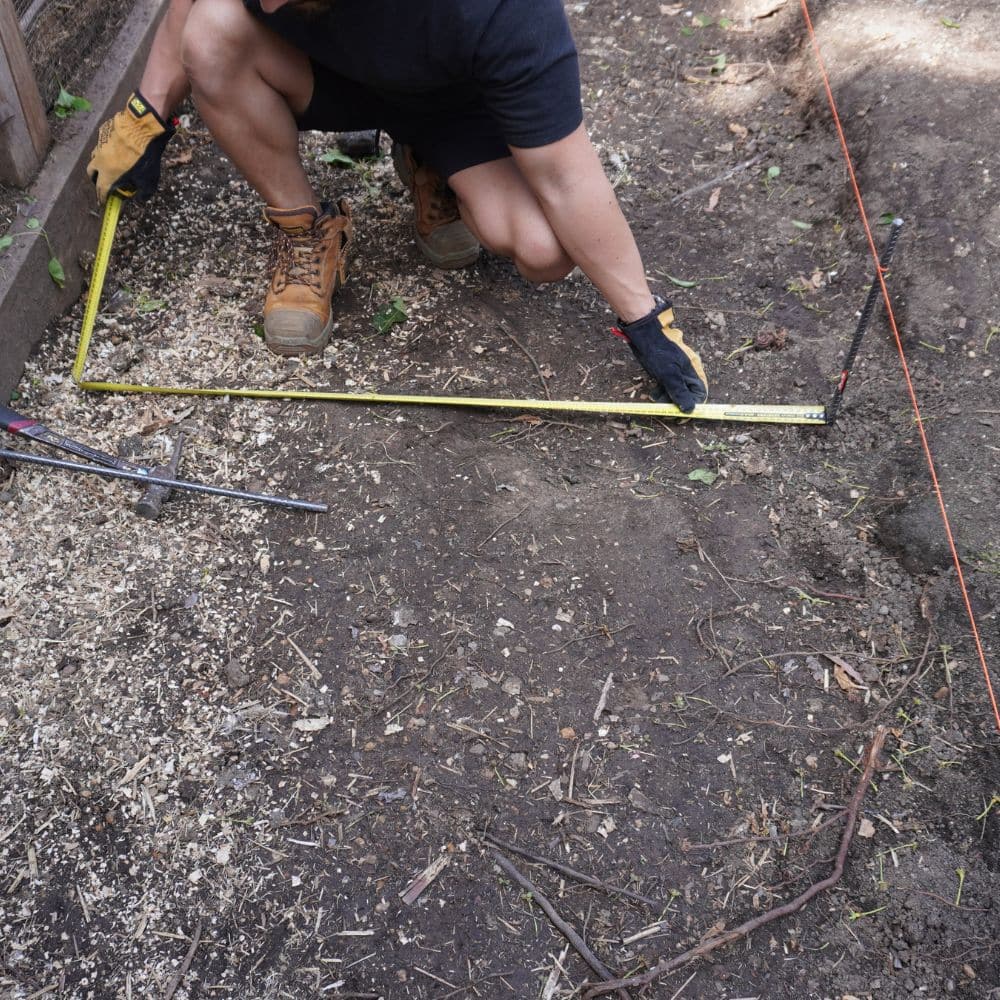


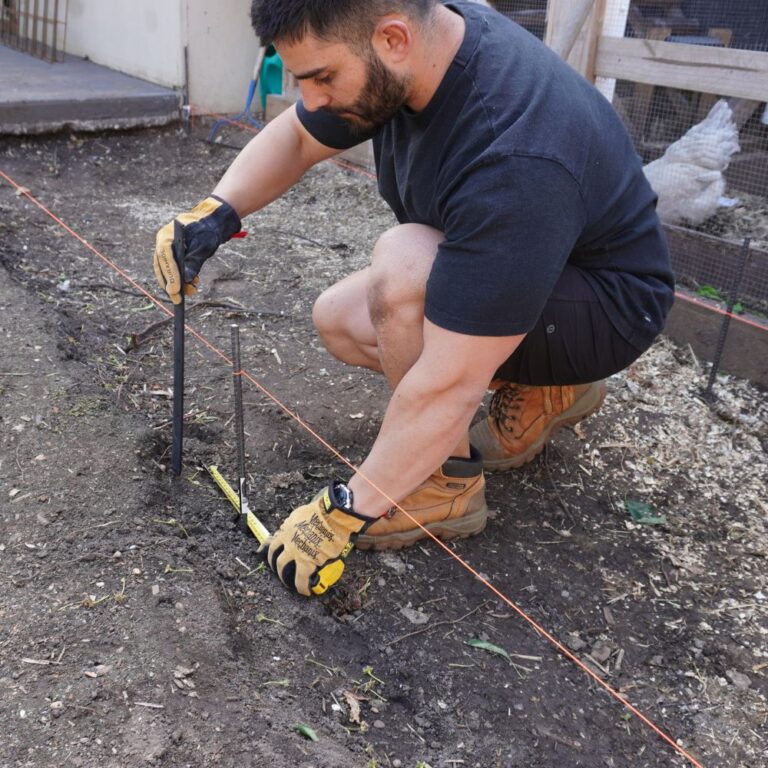 Use stakes and string lines to mark your area

Prepare site
Excavate marked area to a depth of 100-150mm.
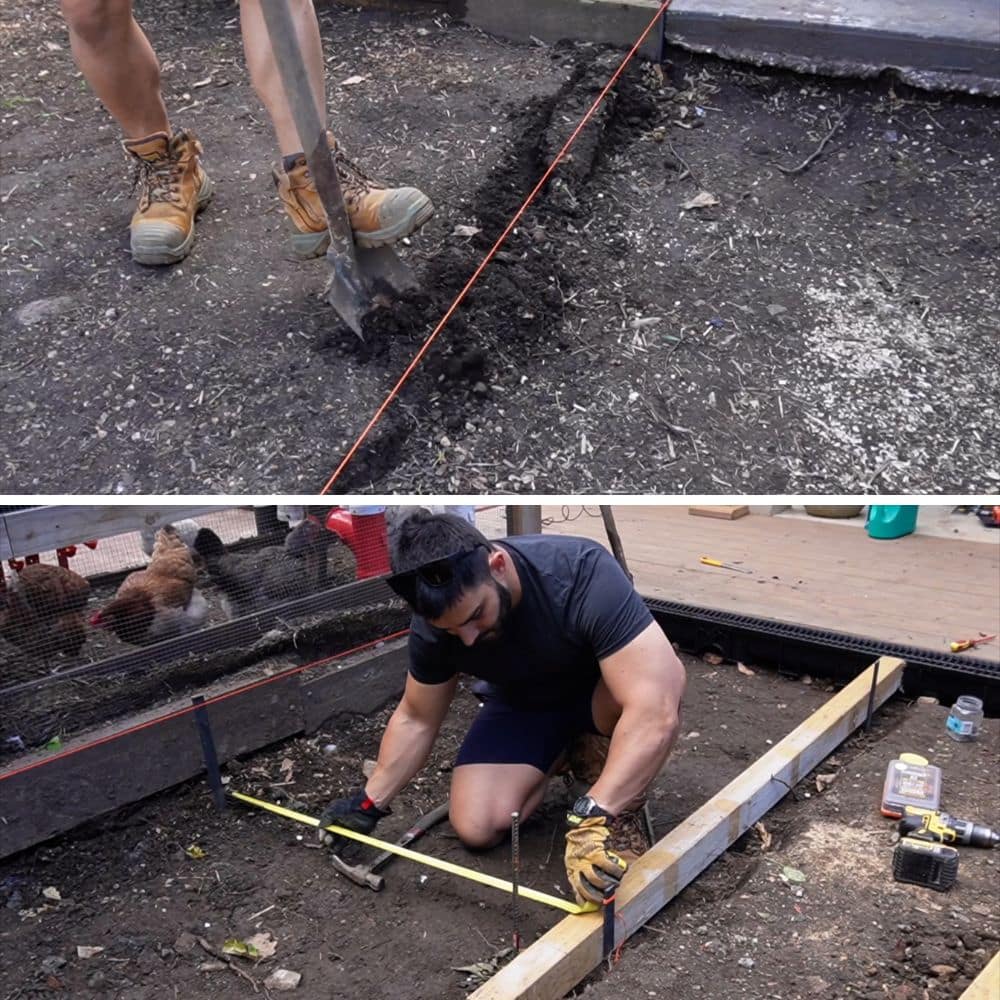
 Remove any large rocks or roots from the ground
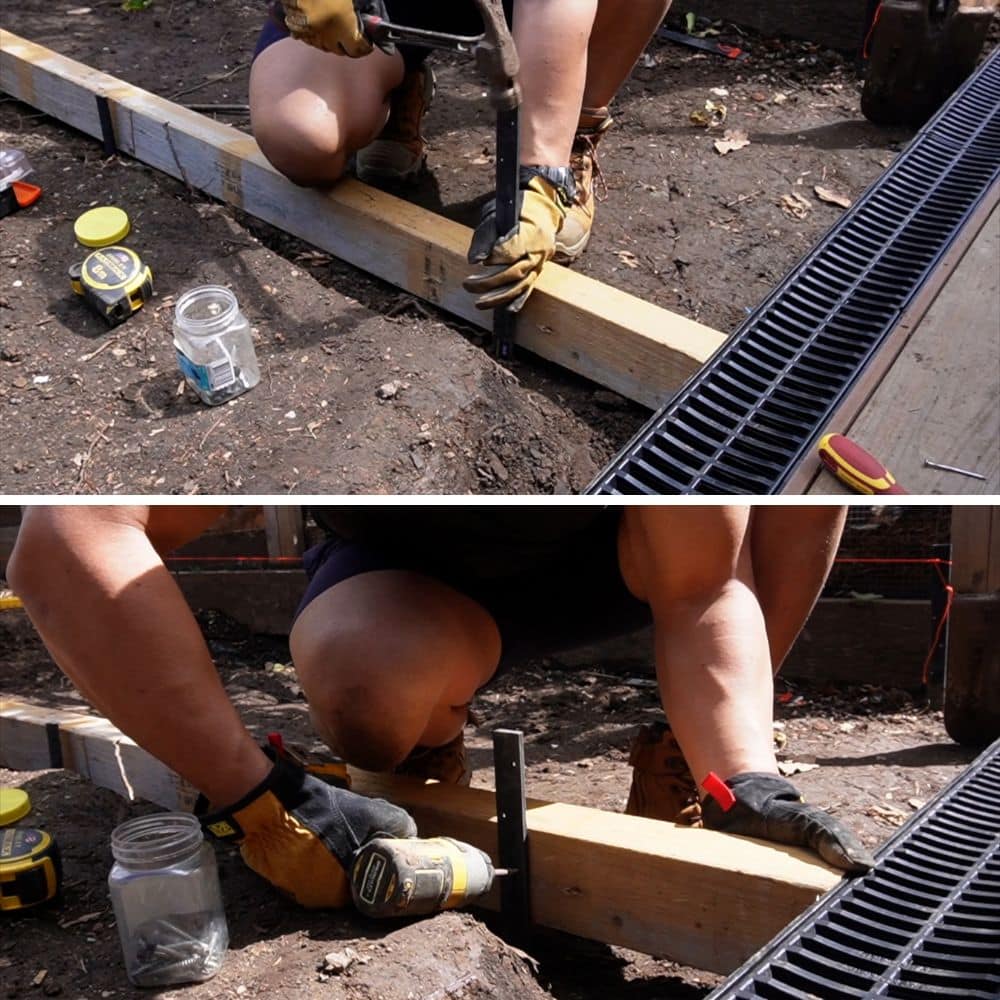
Set up formwork
Install formwork along the edges of your slab, make sure it’s level and slightly sloped for proper drainage.

Base preparation
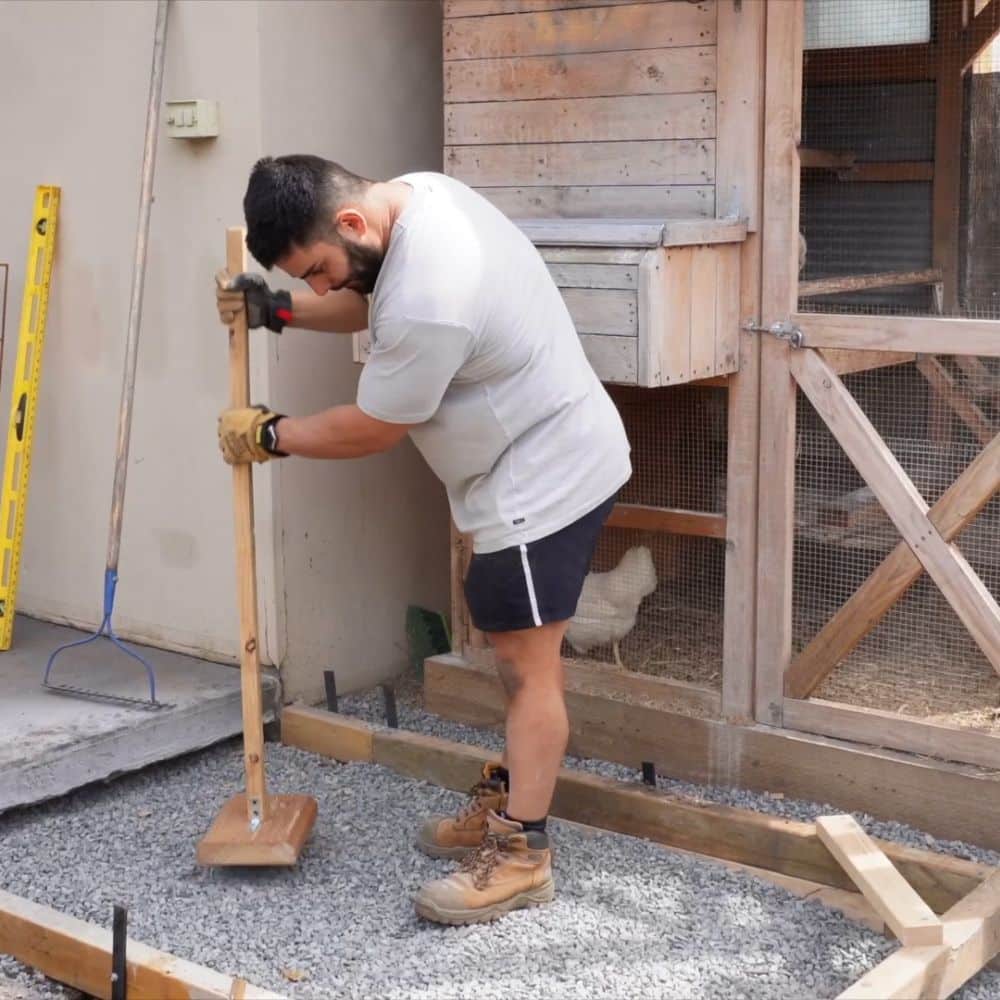
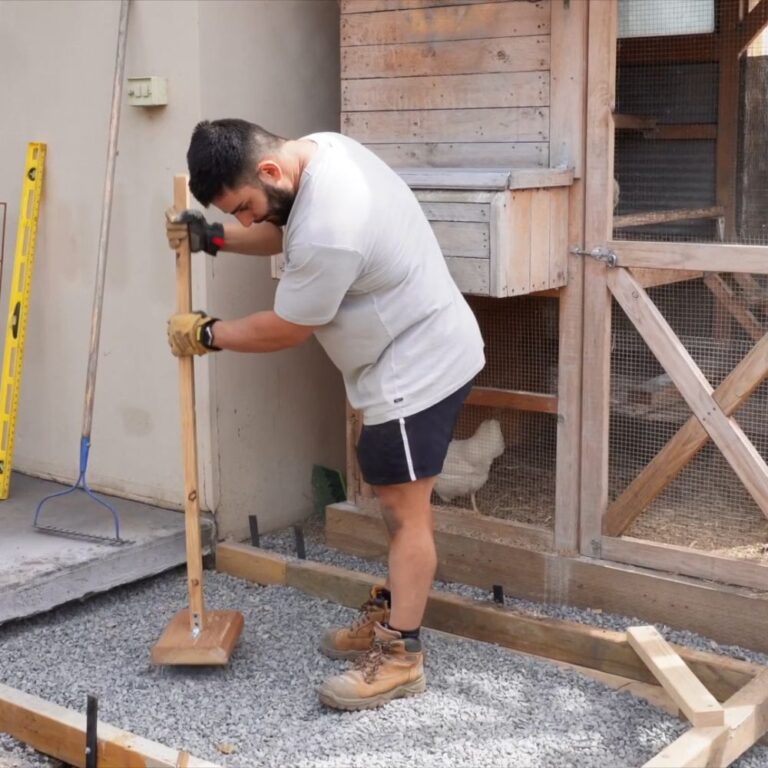
Lay down a base of gravel or crushed stone, about 50-75 mm thick. Compact the base for a solid foundation!
Time for the Reo mesh
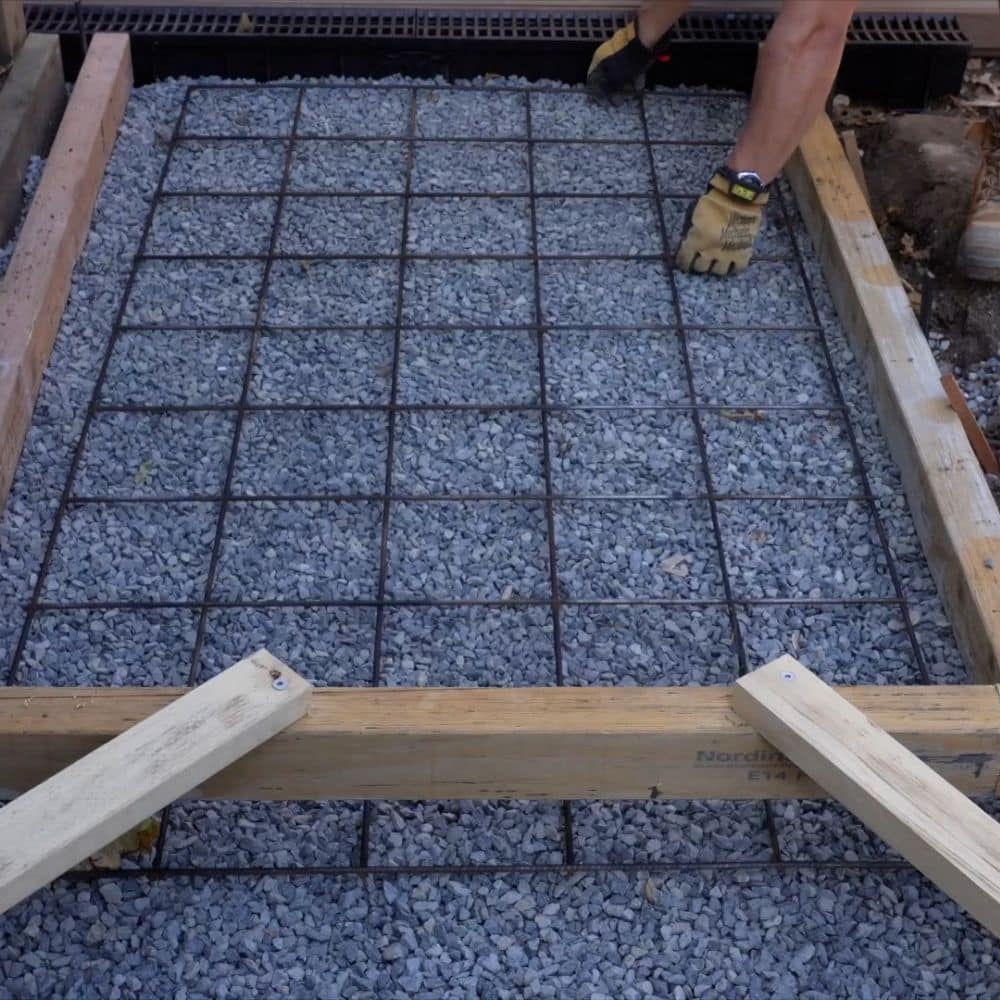
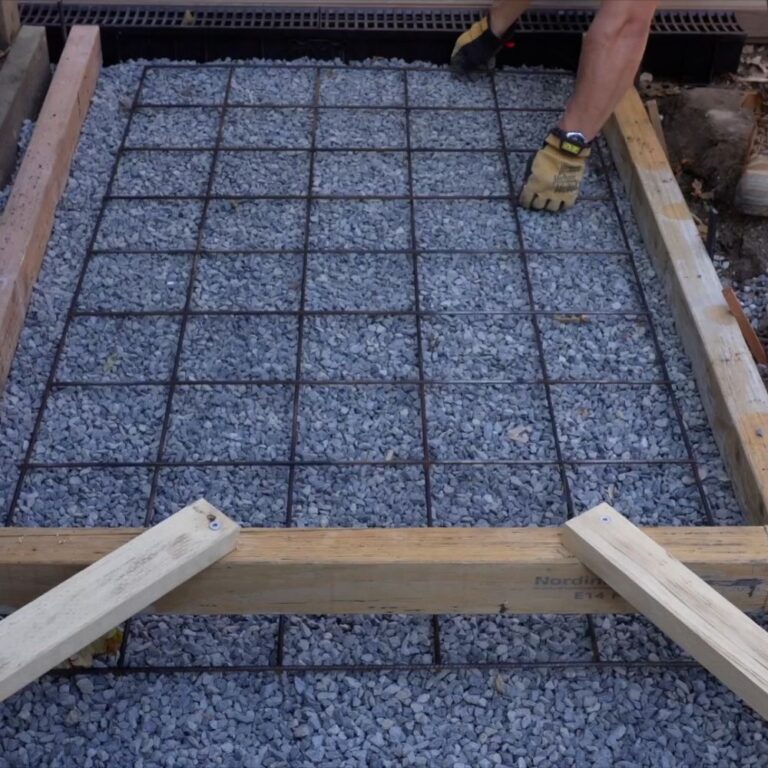
Lay out Reo mesh on top of the compacted base and use bar chairs to keep it raised.

 This will help prevent cracks & ensures stability.
Mix & pour concrete

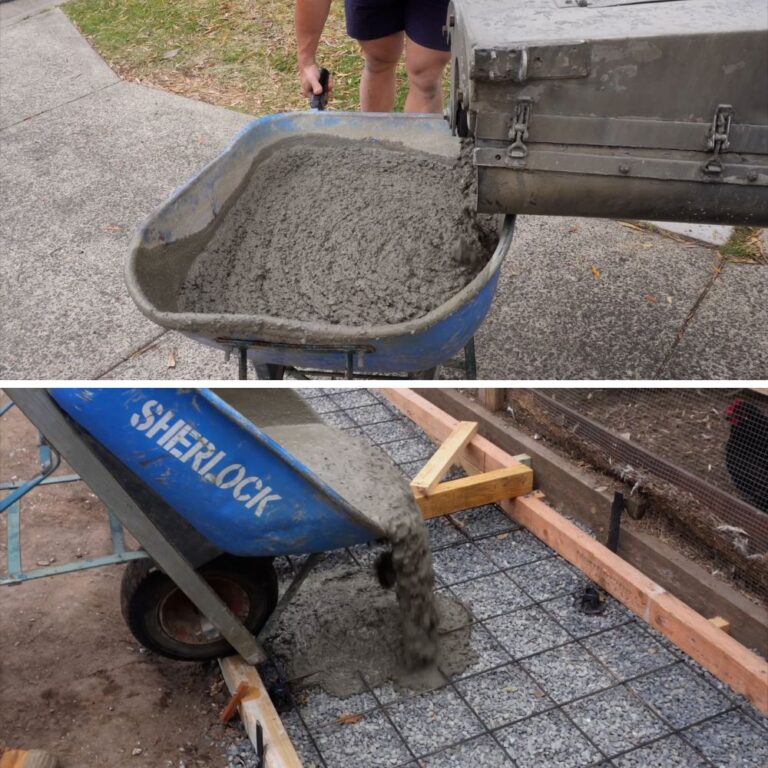 We are using pre-mixed concrete. Mix and pour into the formwork, and spread it evenly using a screed board.
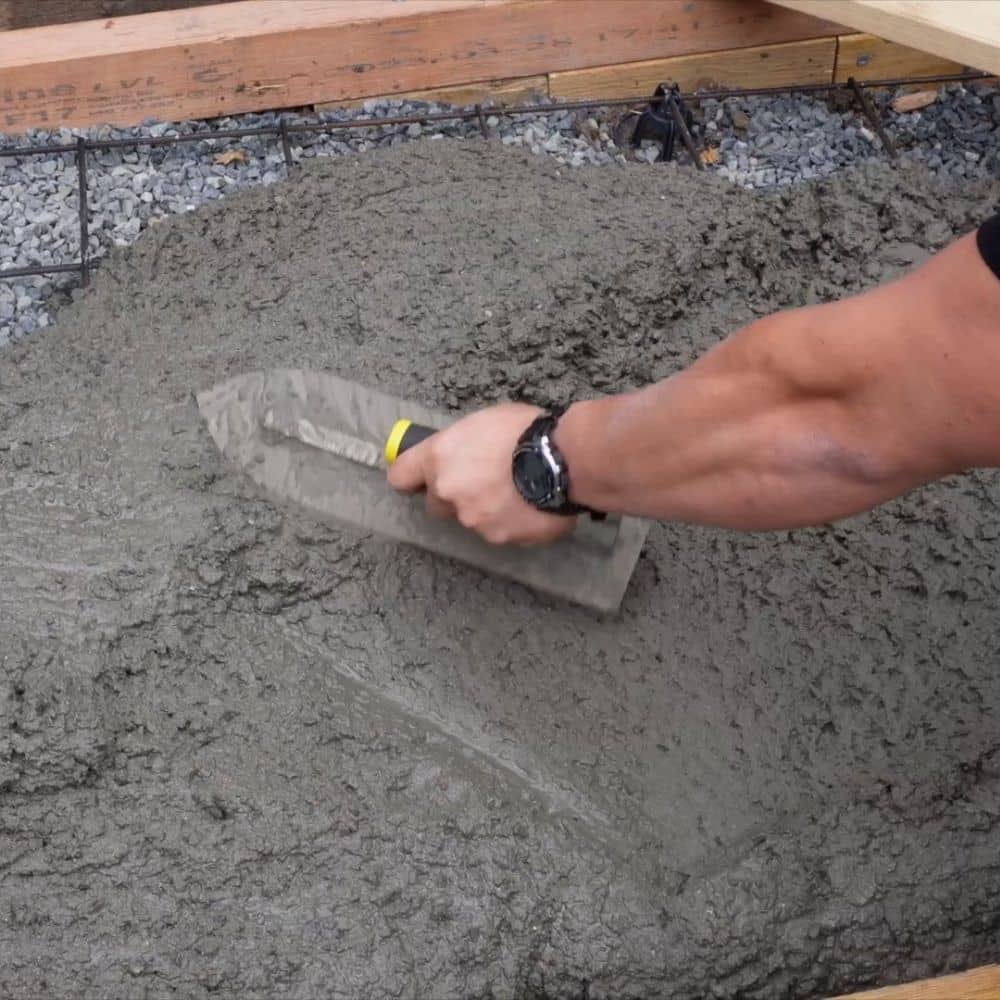

Smoothing and finishing
Smooth the surface with a bull float, then round the edges with an edging tool.

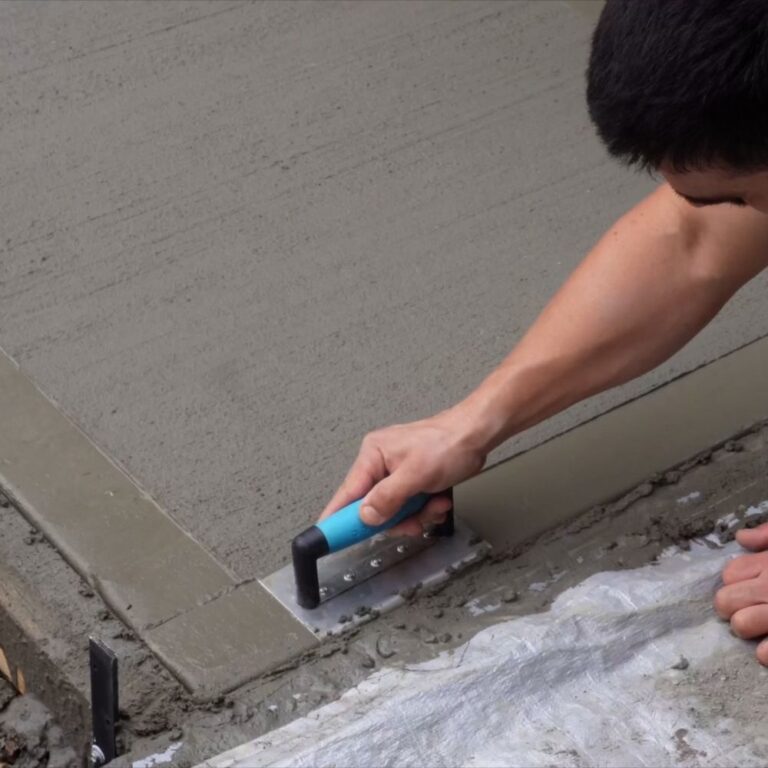 Create control joints with a groover to help prevent cracking.
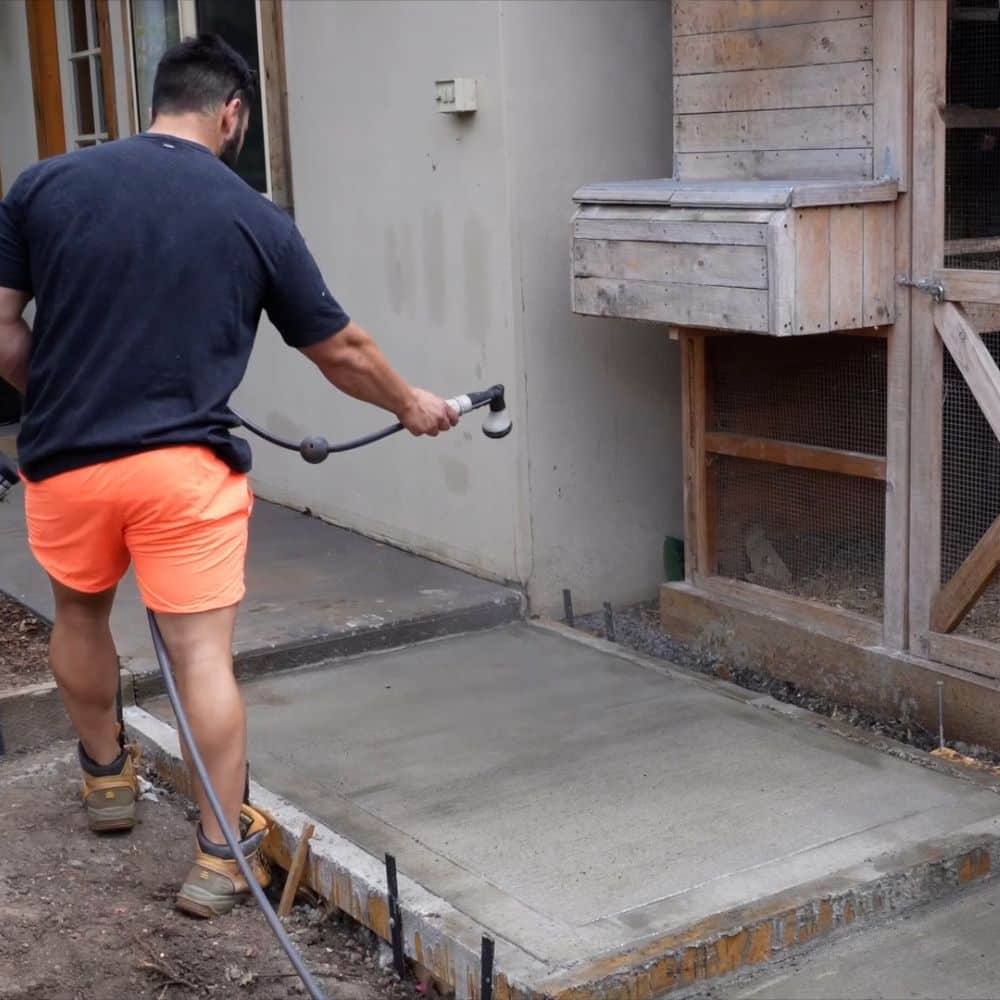
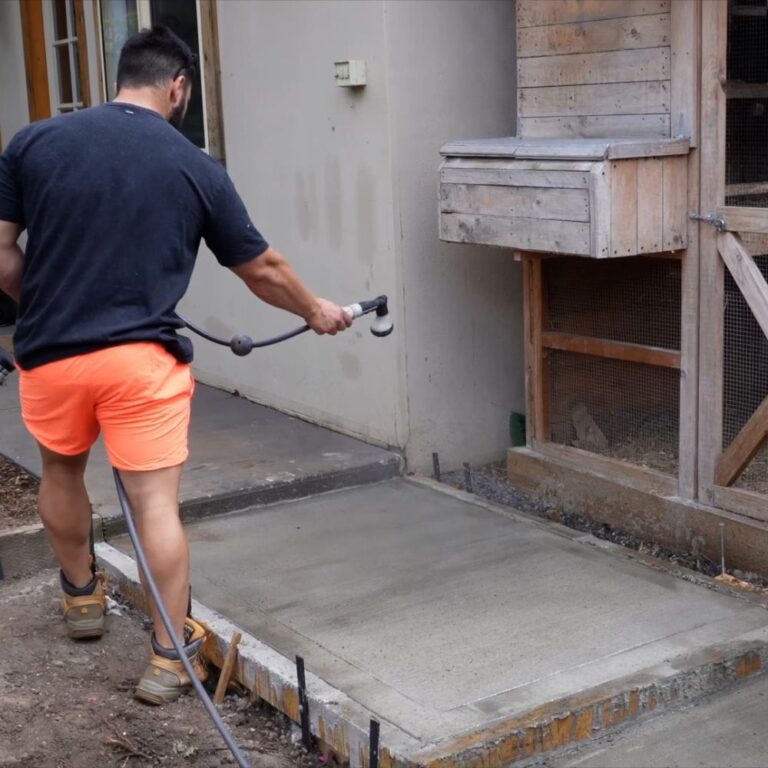
Curing
Proper curing is essential for a durable slab. Keep it moist for 5-7 days to ensure proper curing
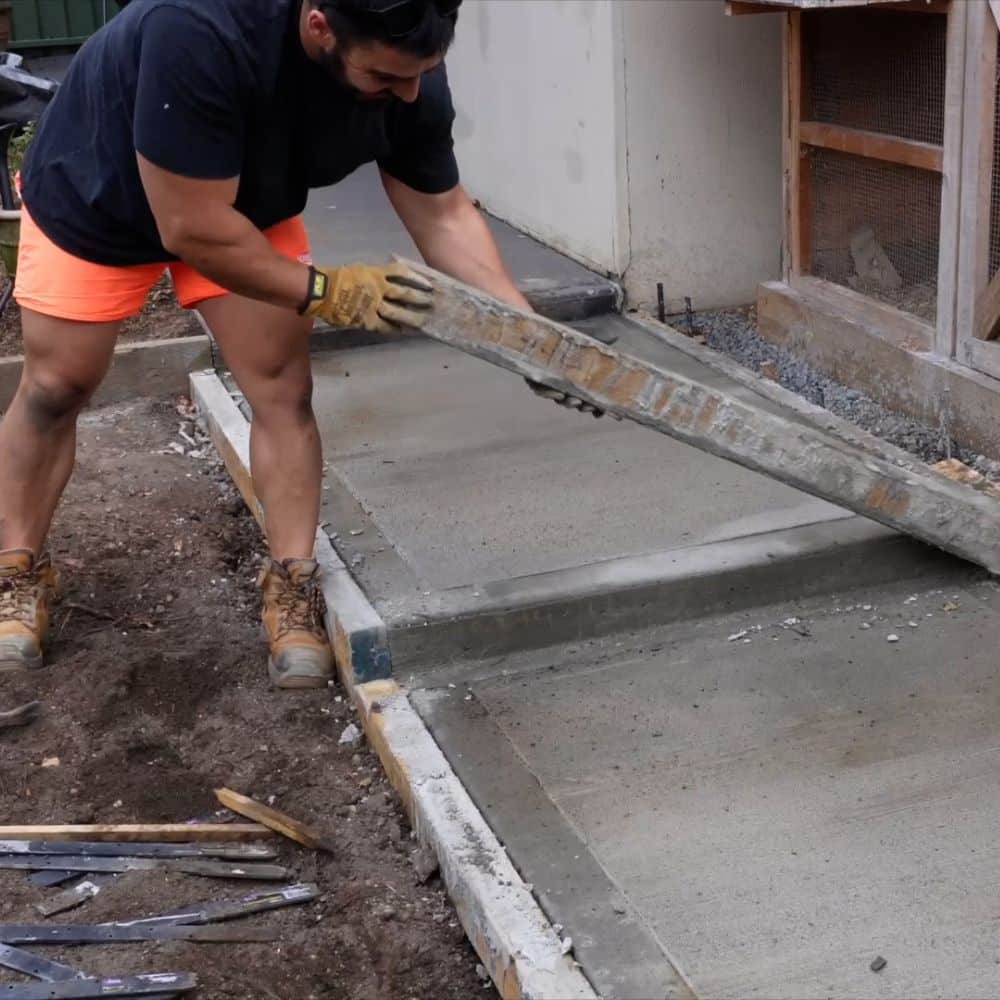
Form work removal
After curing, it’s time to remove the forms. Remove the formwork after 24-48 hours once the concrete has set.

Final inspection
Inspect your work and clean up the area. Check for any imperfections and clean up the surrounding area.
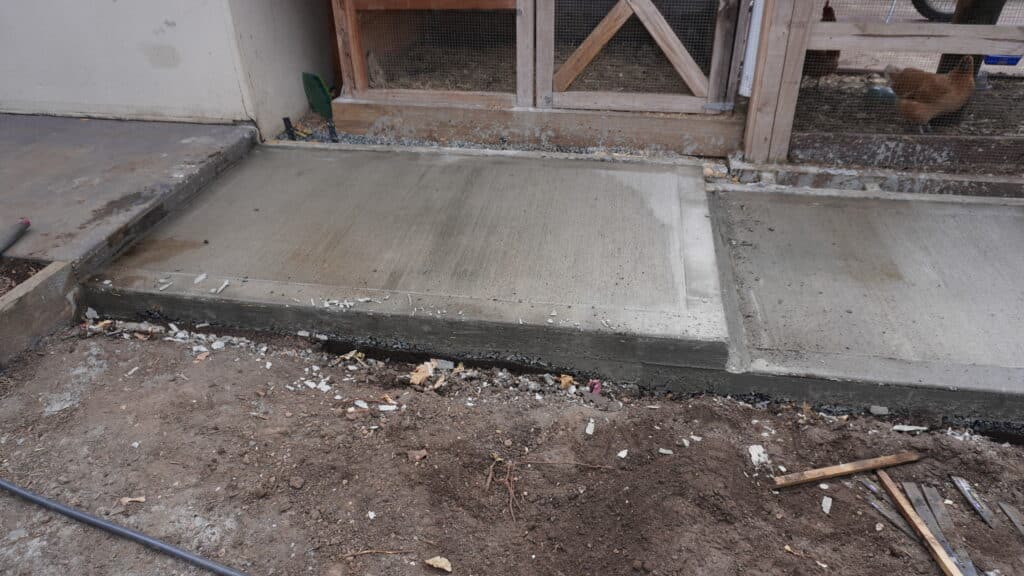
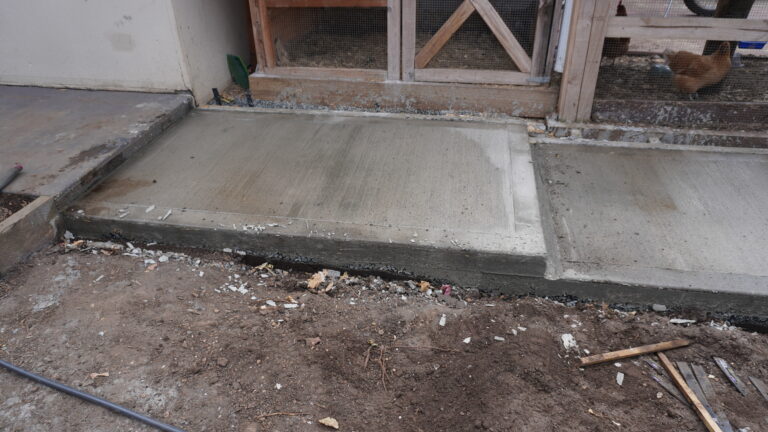
No more muddy puddles!