Inspiration & Advice
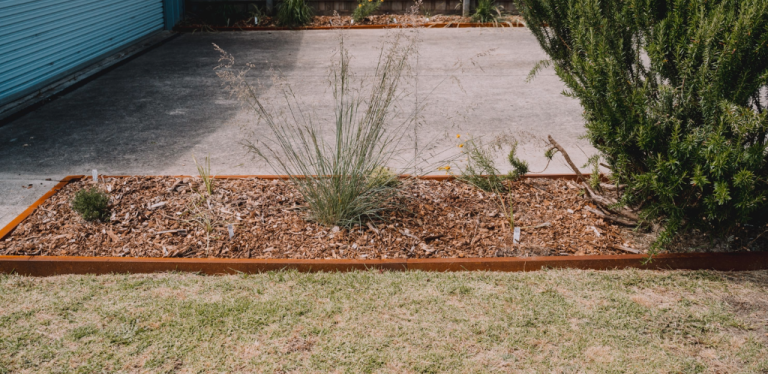
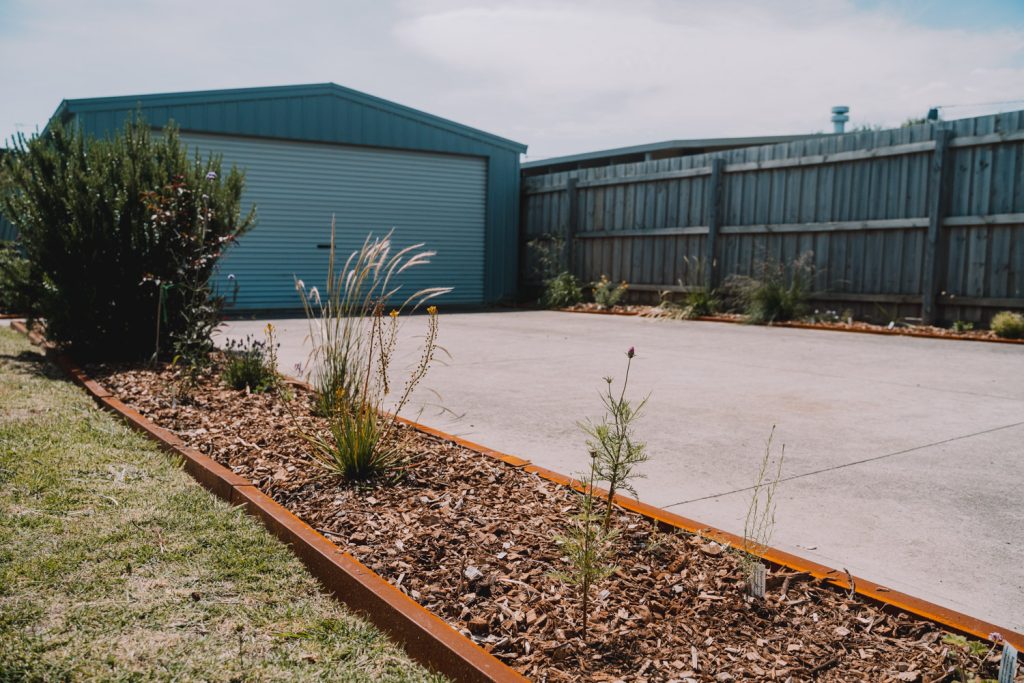
Create your rustic garden with Oxy-Shield Edging
Create your rustic garden
How to install Oxy-Shield Trim Edging
Want to give your garden beds a crisp edge without breaking your back (or the bank)? Jack’s got your back. We’ll show you how easy it is to install Jack Oxy-Shield Edge Trim to create that modern, rustic look that really sets the boundary in style.
Perfect for defining pathways, framing lawns or keeping those mulch mountains in line. Oxy-Shield is tough, long-lasting and designed to weather beautifully so your garden can age gracefully.
It’s a simple upgrade that makes a sharp difference, boosting street appeal and adding value while you edge ahead of the neighbours.
Grab your gloves and let’s get into it.
What you'll need
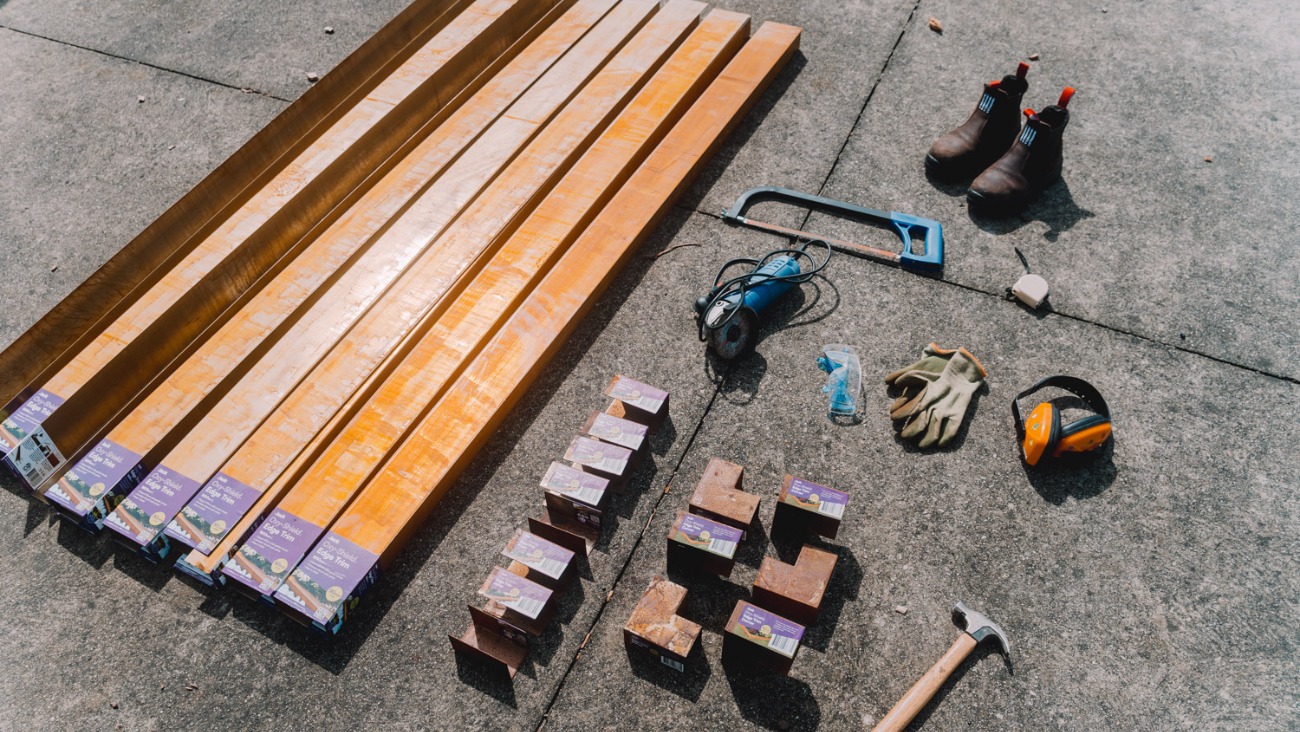
Tools & Materials


Additional materials needed for this project:
- Angle grinder
- Hacksaw
- Measuring tape
- Ear Muffs
- Gloves
- Safety Boots
- Safety Goggles
- Shovel or Half moon edger
Clear the area
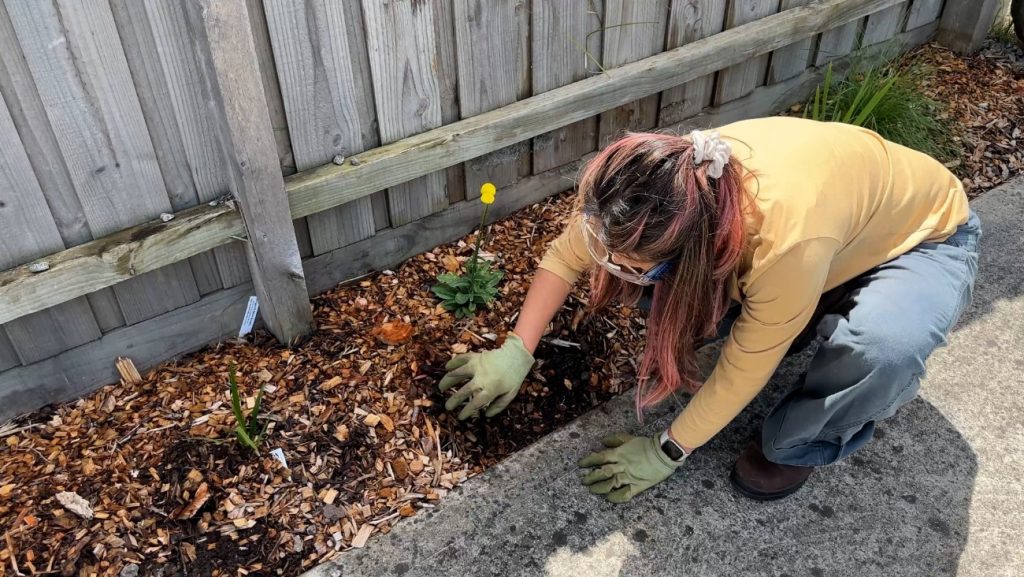

Sweep mulch back into garden beds
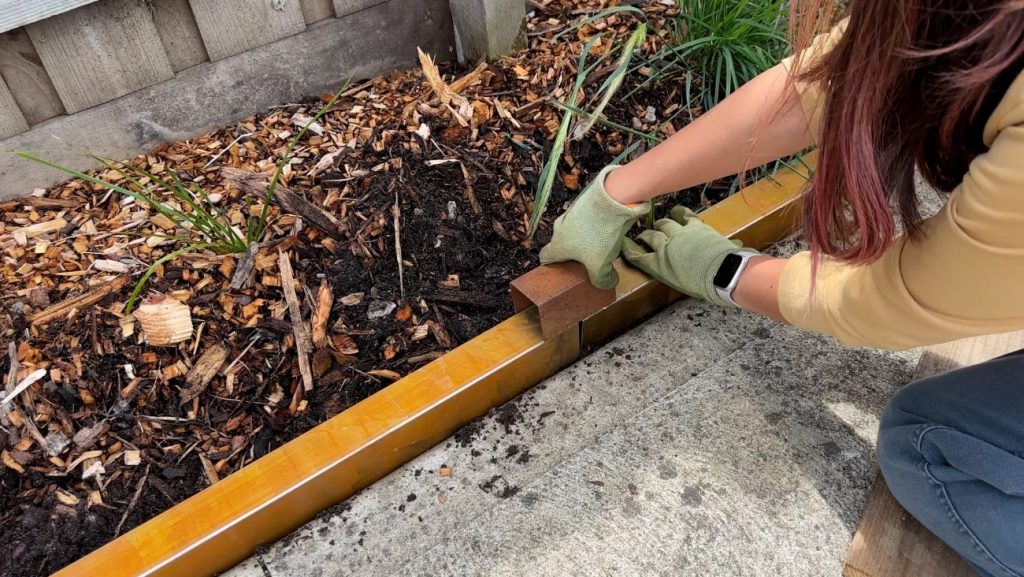
Install Edging
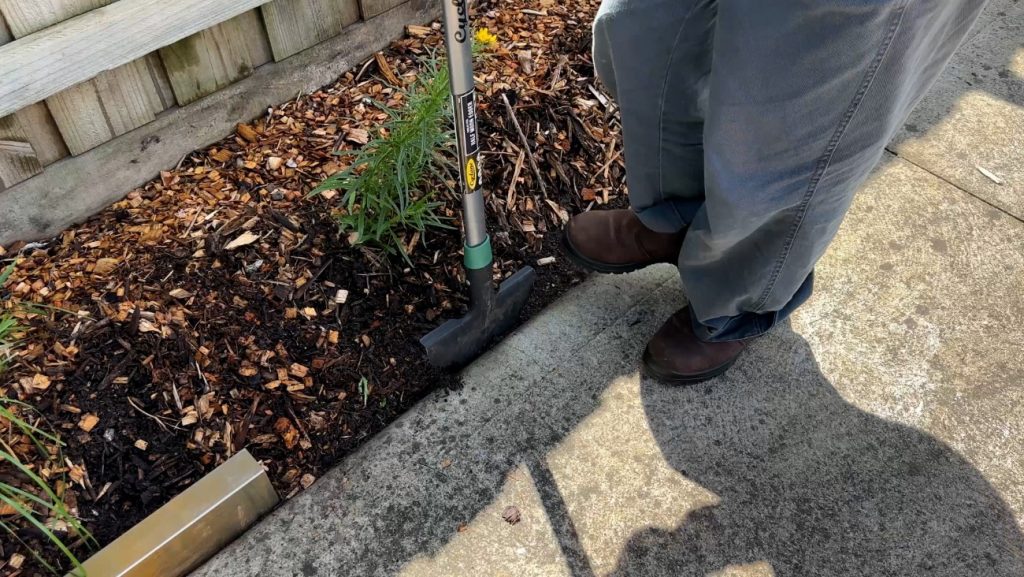

Dig a trench with a half-moon edger or shovel….or just dig in with your fingers.

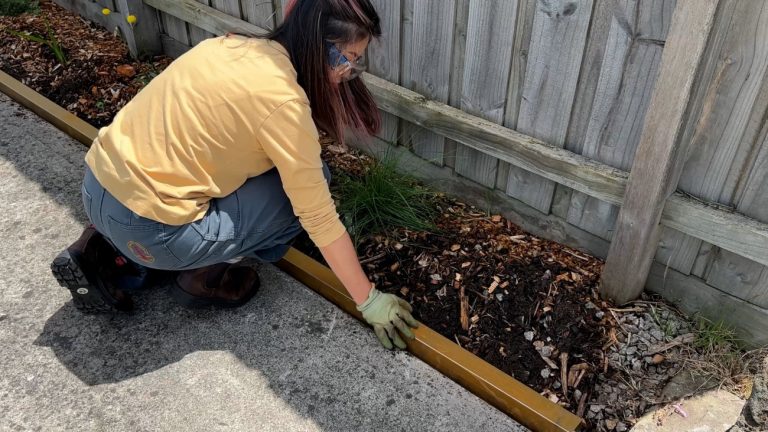
Push strips in with the long edge facing out.
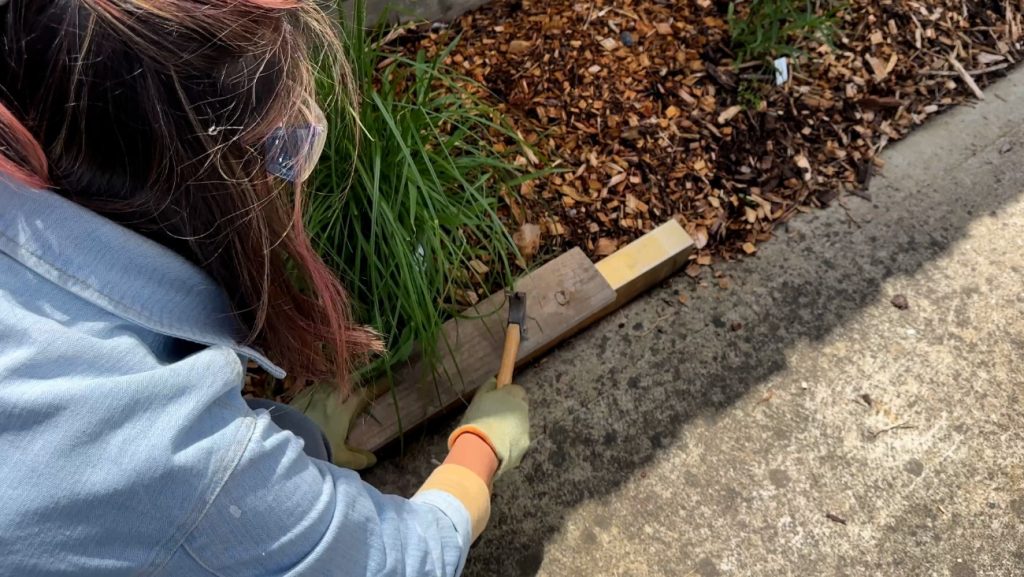

Use a hammer and wood block to secure
Cut to size
If a piece is a bit too long, use an angle grinder or hacksaw to cut to size.
Mark cut lines with a ruler before cutting.
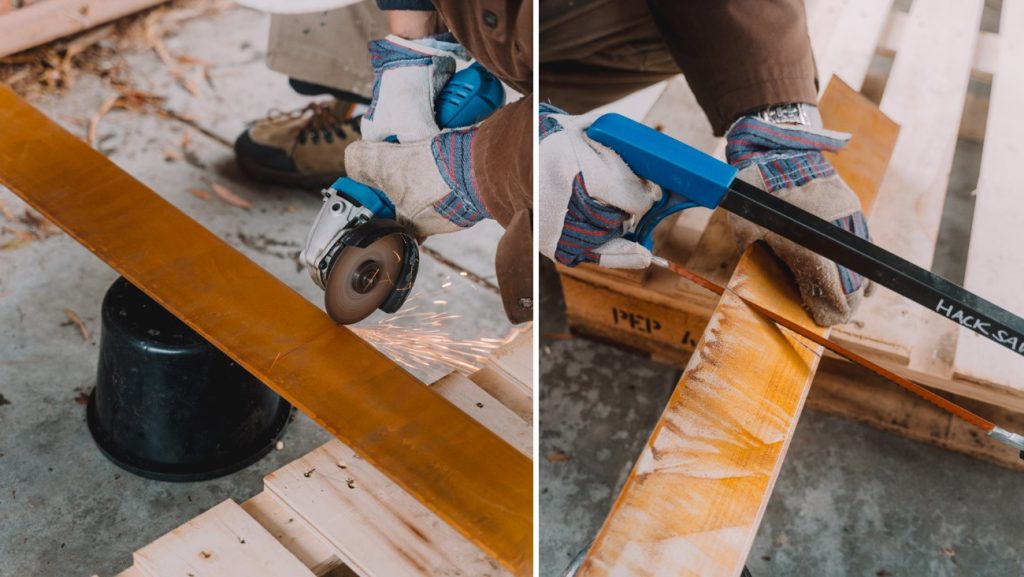
 Always wear PPE when handling sharp pieces especially when cutting. Oxy-Shield edging can have sharp edges, so pop on some gloves and handle it carefully. Your fingers will thank you..

Join pieces

Connect ends with joiners and end connectors for a flush finish.

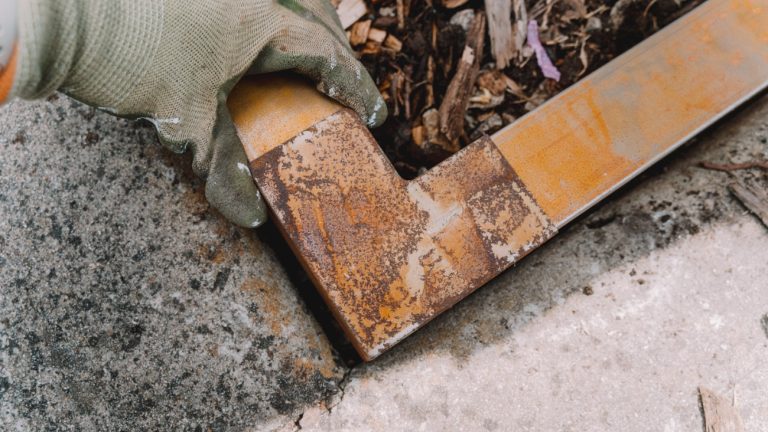
Don’t forget the corners!
Fast track the rustic Oxy-Shield look
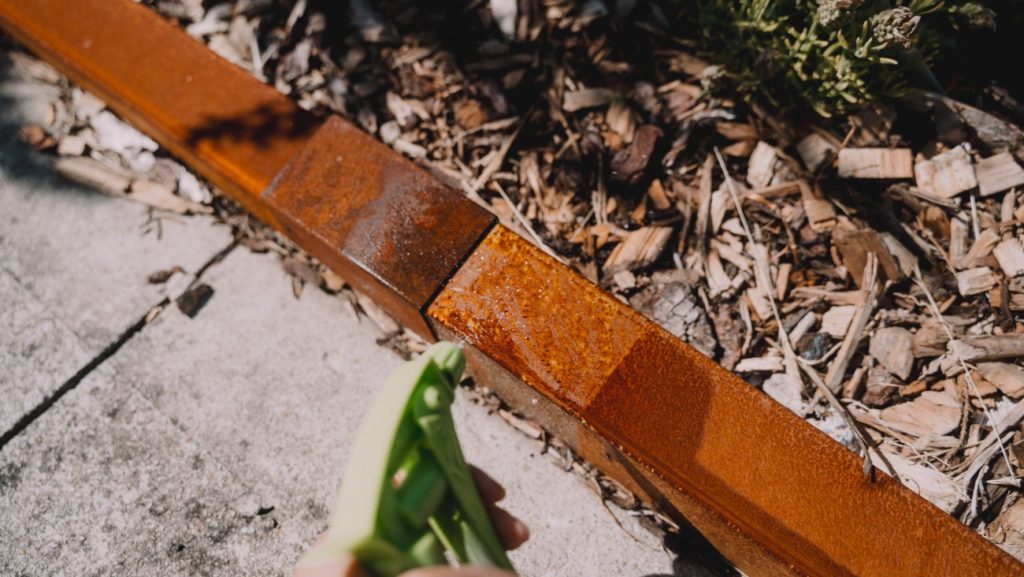

To speed up the natural rusting on your Oxy-Shield, mix 5 parts hydrogen peroxide, 1 part white vinegar and a teaspoon of salt in a spray bottle. Give your edging a light mist, let it sit overnight and watch the rich, weathered patina magically appear.