Inspiration & Advice
DIY Herb-drying Rack

DIY Herb-drying Rack
Got more herbs than you know what to do with? If your garden is overflowing & your kitchen smells like an Italian restaurant, it’s the perfect time to make a herb drying rack!
This DIY is super easy, looks cute & helps you save those homegrown herbs for later. Whether you love to cook from your garden or just enjoy a good crafty moment, this project is for you.
I’ll show you how to make a simple herb drying rack with just a few supplies – no fancy tools needed. Let’s hang out (literally) and dry some herbs together.
What you'll need

Tools & Materials


Additional materials needed for this project:
- Pliers
- Scissors
- Gardening gloves (for handling herbs)
- Safety gloves & protective eyewear (for cutting the metal trellis)
Your step-by-step guide
Prep the Trellis
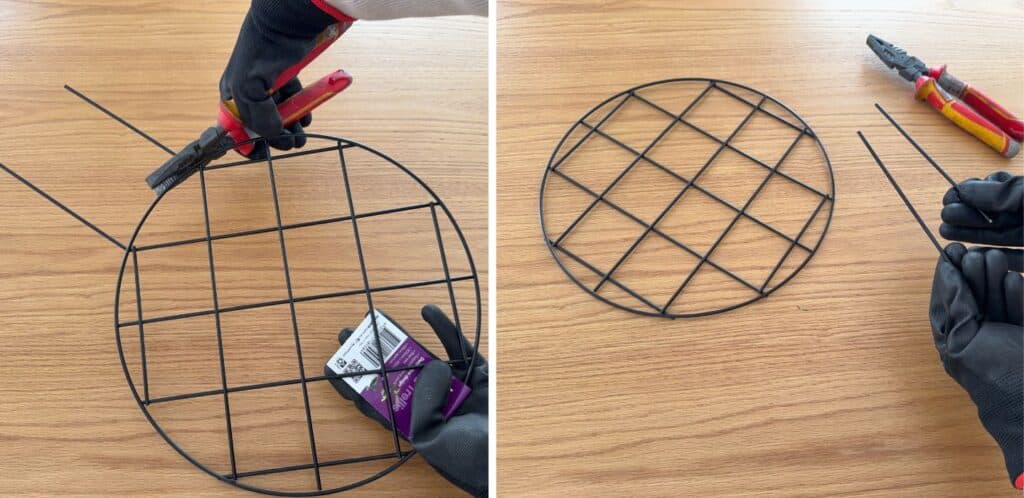
 Make sure you're working on a stable surface & keep fingers away from the cutting area

Using pliers, carefully cut the legs off of the circular grid trellis. Check for any sharp edges and smooth out if needed.
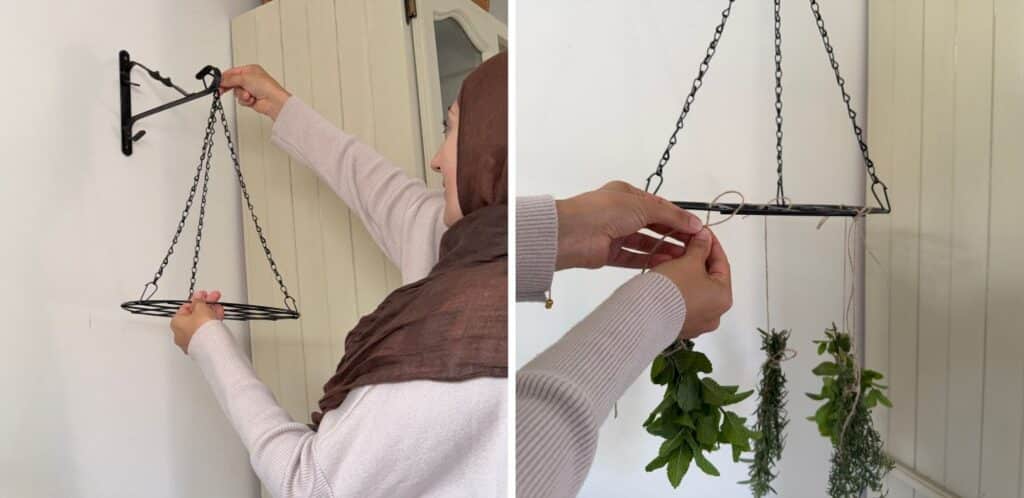
Attach the Hanging Chains
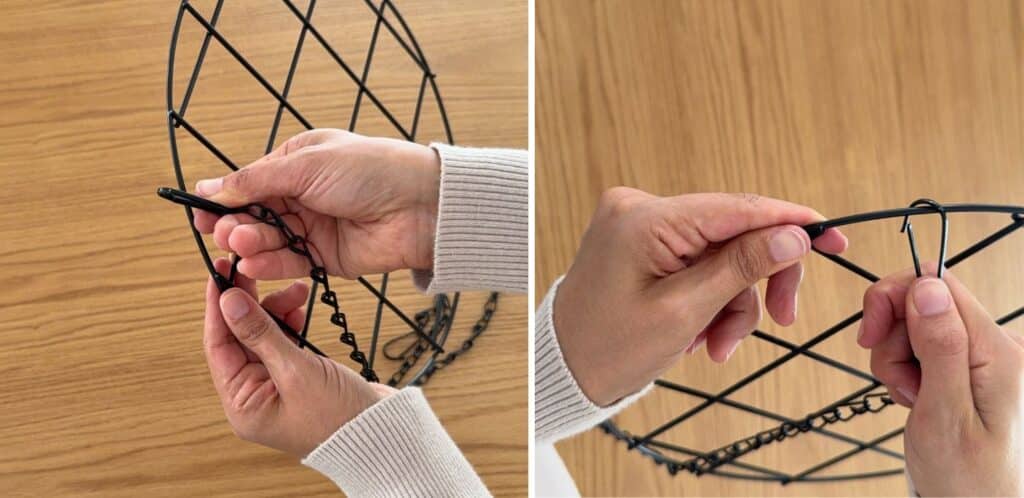

Take the Jack Chain Set and securely attach 3 or 4 chains to the outer rim of the trellis.
Make sure the chains are evenly spaced for stability.
Connect the chains at the top with a hook or loop for safe hanging.
Harvest & Prepare herbs
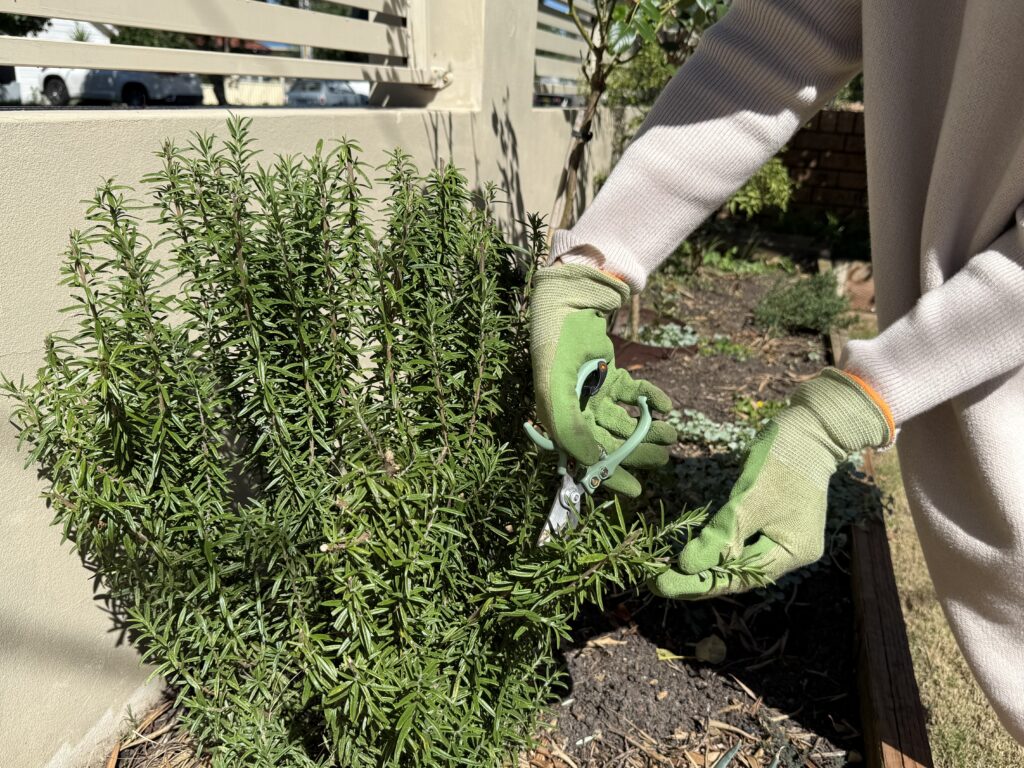

Harvest your fresh herbs like rosemary, thyme, mint or lavender. Shake off excess dirt & remove any wilted leaves. Group them into bundles, tying the stems together with twine. Make sure to wash the herbs before proceeding to the next step.
Tie the herbs
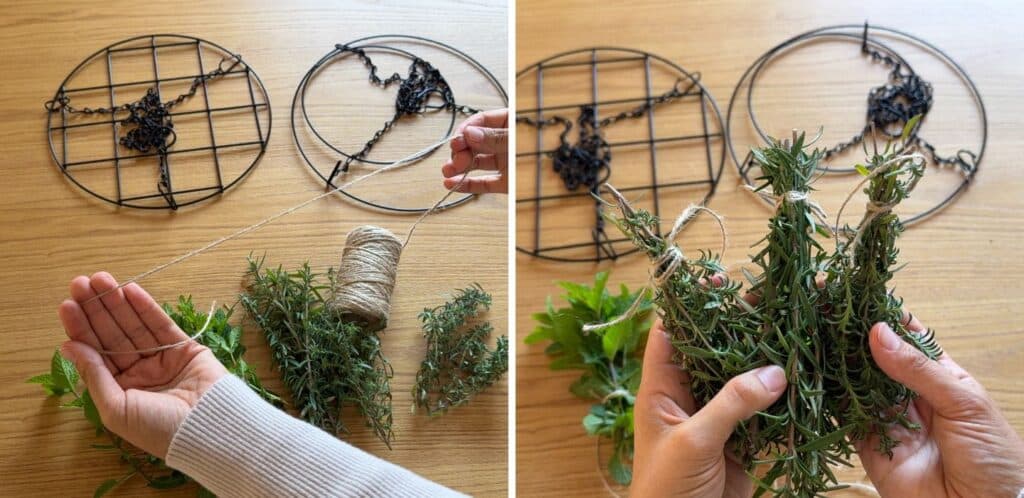

Cut the multiples pieces of Jute Twine (about 20-30cm each). Use these twine loops to hang the herb bundles upside down for proper air circulation.
Hang & Assemble the rack
 Choose a well-ventilated, dry area away from direct sunlight for optimal drying.
Hang the rack up in your chosen area.
Tie the herb bunches securely around the outer rim of the trellis & the inner grids of the trellis.
Make sure all knots & attachments are secure before hanging.


